Keep three different measurements separate
First, record the space available in the room. Second, obtain the dimensions of the exact tray. Third, check the dimensions and adjustment range of the proposed enclosure. Similar numbers on these three pieces of information do not prove that they will work together.
Use one unit when comparing specifications. For example, a tray labelled 1200 × 800 mm has a nominal footprint of 120 × 80 cm. That conversion says nothing about the finished enclosure opening, waste position or usable entry. It is simply a way to avoid comparing centimetres with millimetres.
The MERLYN technical information linked below separates nominal product sizes from enclosure adjustment ranges. This illustrates why product-specific checking matters. Ask your installer to check the relevant drawing for your chosen model, not a range that looks similar.
Check shape, orientation and the surrounding products
A rectangular tray, a quadrant and an offset quadrant are different decisions. Draw the proposed shape on your room plan and identify which side meets each wall. Where a product is handed, record the exact left- or right-hand variant from its manufacturer’s drawing.
Show how the shower entrance relates to the basin, toilet and door. The largest tray that fits the outline of the room may not leave the arrangement you want elsewhere. Review the small bathroom layout guide before optimising one fitting in isolation.
| Check | Record for your shortlist | Who confirms the unresolved detail? |
|---|---|---|
| Tray identity | Manufacturer, code, size, shape and colour | Supplier against the order |
| Enclosure | Exact model and adjustment information | Installer against finished dimensions |
| Waste | Location, specified parts and proposed access | Installer against the site |
| Floor arrangement | Proposed finished level and support system | Installer or relevant designer |
| Room use | Entrance, door movement and neighbouring fittings | You and the designer together |
Ask about waste position and the finished level
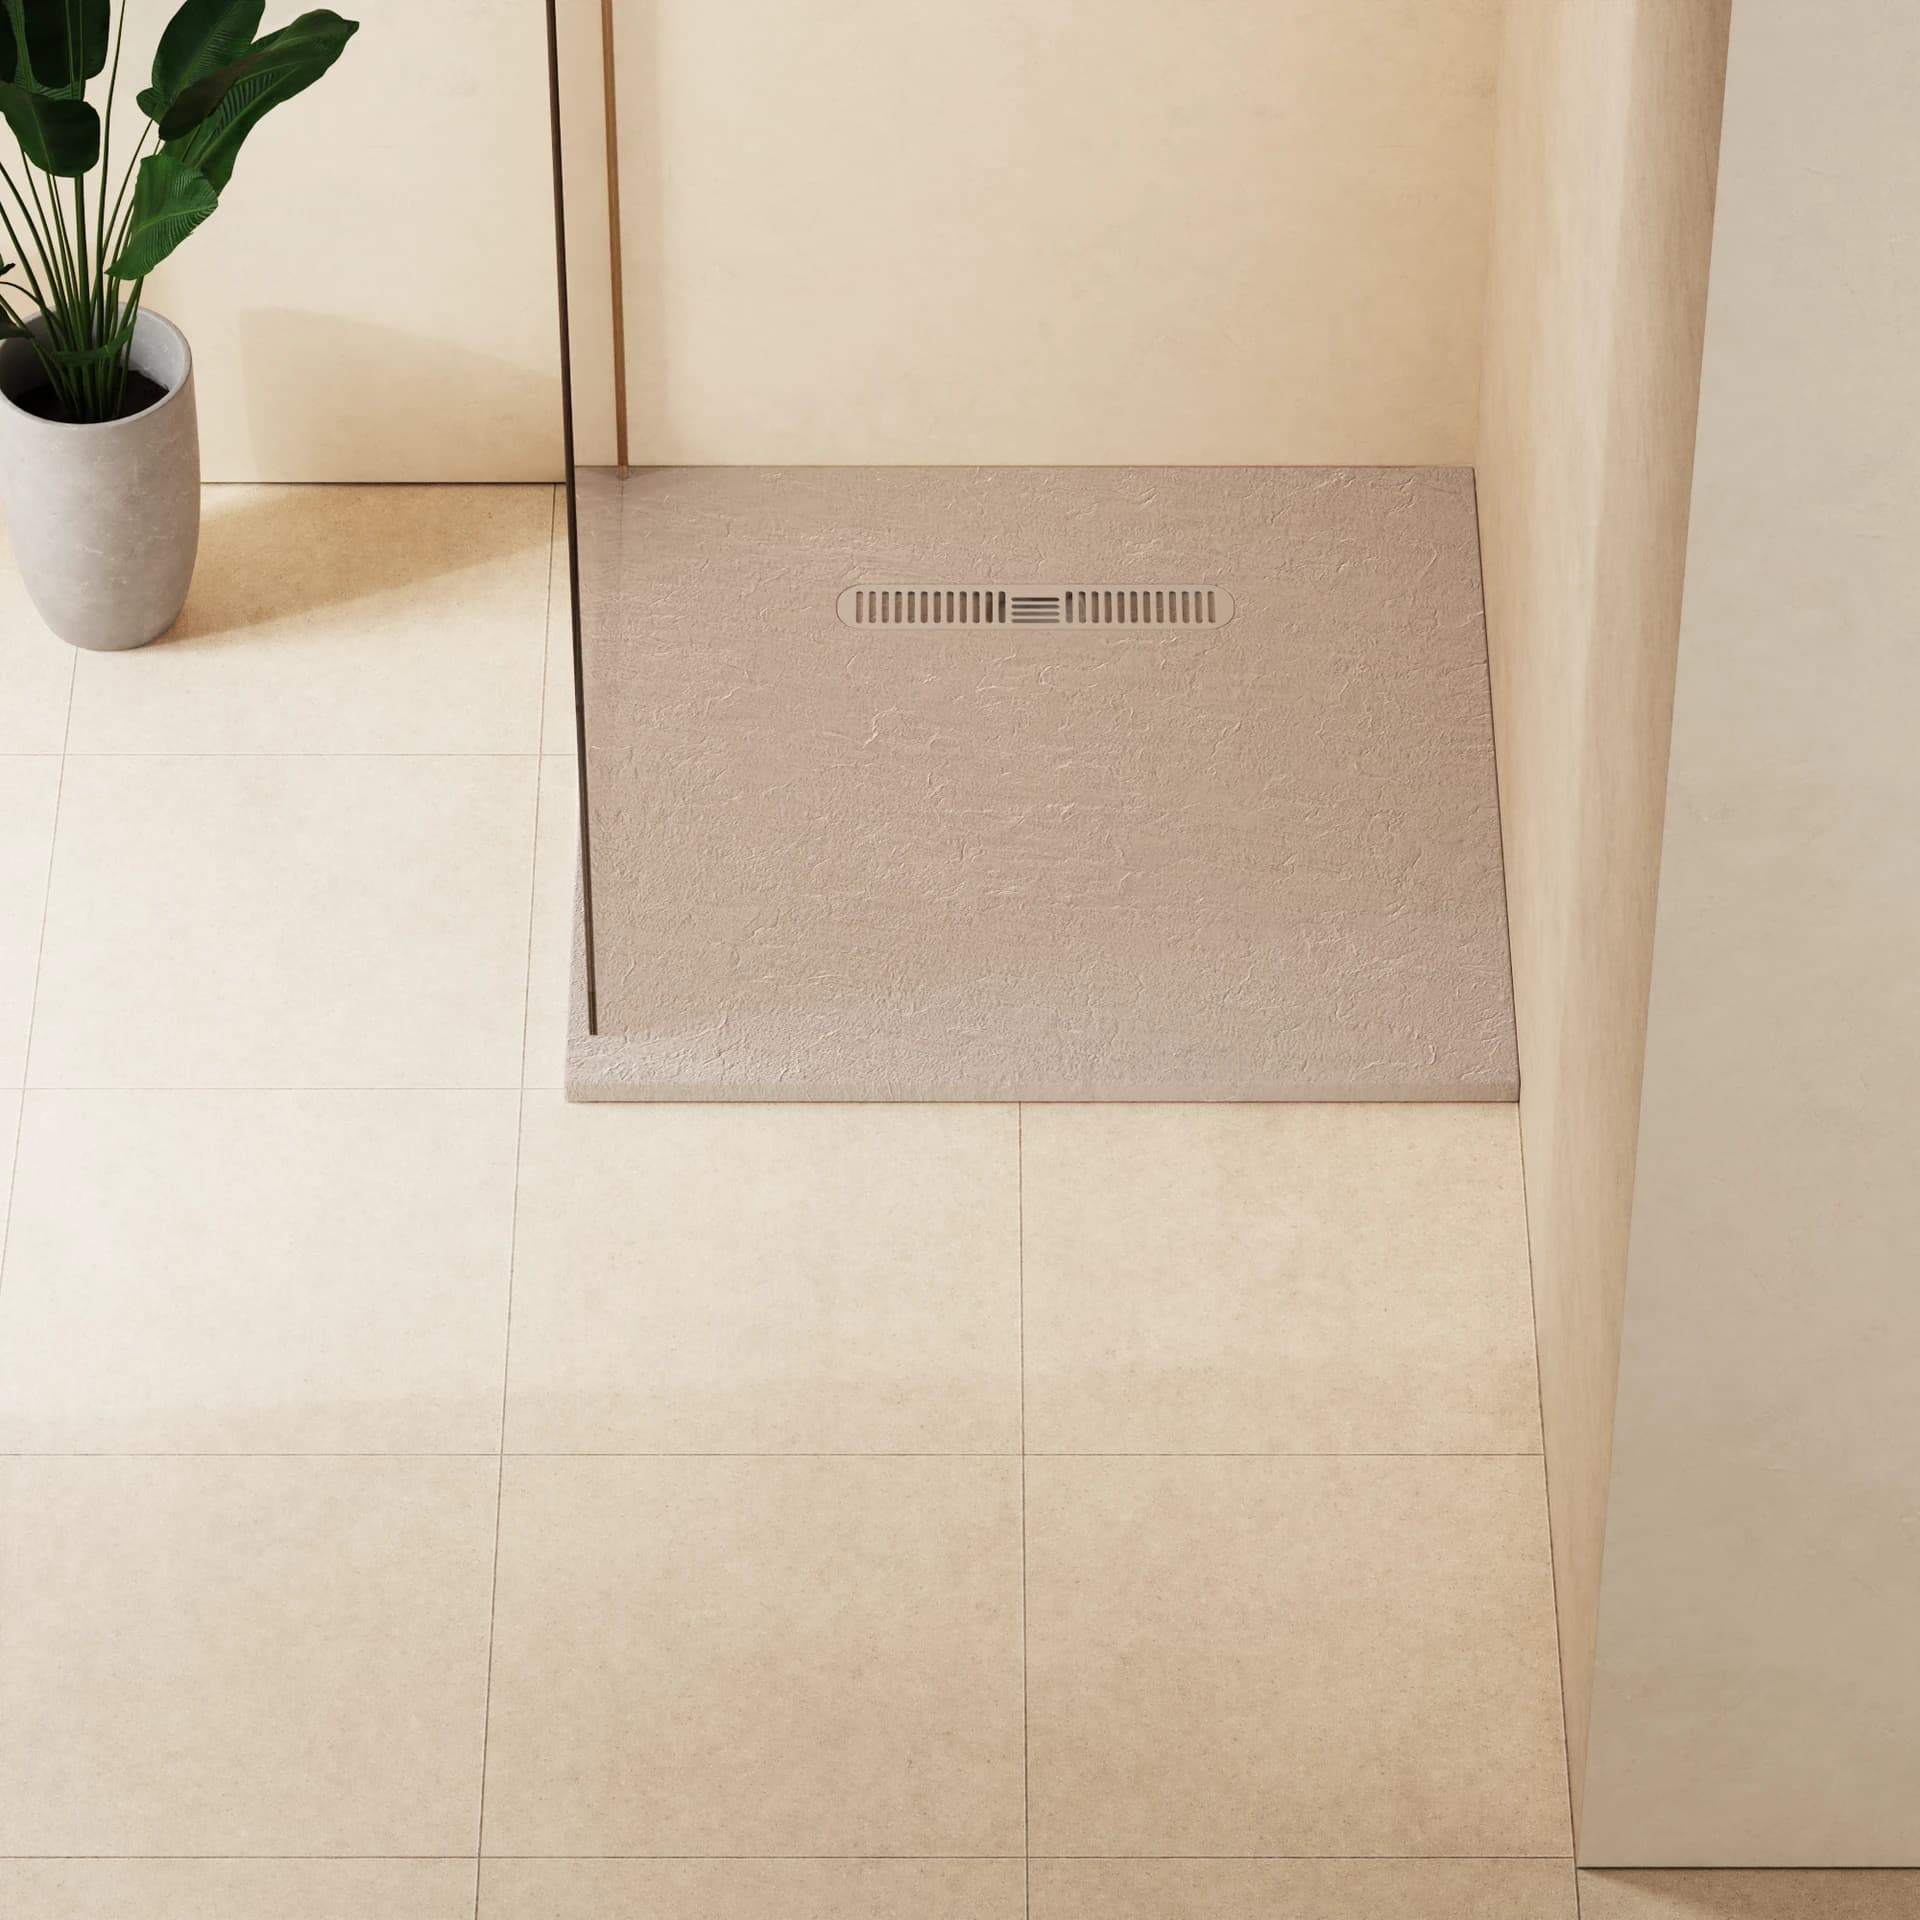
Do not assume the waste outlet is in the same position on two trays of the same overall size. Check the manufacturer’s drawing and have the installer compare it with the proposed drainage arrangement. A photograph from above cannot establish what is below the floor.
Likewise, the tray’s own profile is not the same as the finished step into the shower. Discuss the complete arrangement, including the floor and drainage constraints. If easy access is a priority, state that in the brief and ask what can actually be achieved in your room.
This is a specification conversation, not an invitation to alter joists, floors or pipework yourself. Record the question and the professional confirmation rather than treating a product description as approval for a building detail.
Use a short order check
Compare the order confirmation against the product code and drawing you agreed. Check any required waste or other components separately, and ask which are supplied with that exact tray. Do not assume every image shows the contents of the box.
When products arrive, follow the supplier’s inspection and reporting arrangements before fitting. Keep the packaging information and product identifiers available. If something differs from the confirmed order, resolve it before treating the tray as ready for installation.
Bring your measurements and two or three shortlisted trays to the showroom appointment. You can also explore shower compatibility and the difference between a walk-in shower and a wet room.
Once the footprint is shortlisted, compare tray materials and support, the finished entry height and any quadrant enclosure pairing.
Sources & further reading
- Crosswater: Rectangle Shower Tray 35mm, variant specifications ↗
- MERLYN: product and tray technical information ↗
Prepared with AI assistance from the linked sources and Elegant Haven’s published service information. This guide helps you prepare decisions; product suitability and installation details need confirmation for your own room. It is not a record of a completed Elegant Haven installation or an expert sign-off.