Ask for three levels on one drawing
A useful side-view drawing shows the bathroom’s finished floor, the tray support level and the top of the tray edge. Keep those reference points together. If each person measures from a different surface, the quoted step heights can appear to disagree.
Crosswater’s Creo range includes a tray described as 25 mm low profile. That dimension is a product characteristic; it does not establish a 25 mm step in every installation. The installer must review the proposed support and drainage arrangement.
Use arithmetic to expose an assumption
Illustrative level example only: if a tray edge finishes 95 mm above a reference line and the adjacent bathroom floor finishes 10 mm above that same line, the level difference is 85 mm. The calculation is 95 minus 10; it is not an installation design.
If someone quotes only the tray thickness, ask what other build-up is included and which reference surface was used. Do not remove or alter floor structure to chase a preferred step height; the technical solution needs professional assessment.
| Record | Why it matters |
|---|---|
| Finished bathroom floor | Starting reference for the user’s step |
| Top of entry edge | The level the user must cross |
| Support and drainage | Constraints beneath the visible tray |
| Screen or door threshold | Additional details at the entrance |
| Access requirement | What the household actually needs to achieve |
Describe the access task precisely
Explain whether the concern is lifting a foot, balance, a mobility aid, a helper’s space or simply a preference for a less prominent edge. These are different requirements. Avoid describing an arrangement as accessible solely because its tray is low.
If individual mobility needs are central, request appropriate professional advice and a review of the complete room. Entry width, controls, standing space and support needs matter alongside levels. The handset and rail guide helps prepare the everyday-use questions.
Compare feasible options after the survey
Ask the installer to explain the feasible level options and any consequences for the room. Include the waste and drainage checks, and keep any unresolved survey item visible on the product shortlist.
Bring that information to the showroom appointment. Choose the tray and enclosure as part of the assessed arrangement; a product photograph or low-profile label cannot establish the finished threshold in your home.
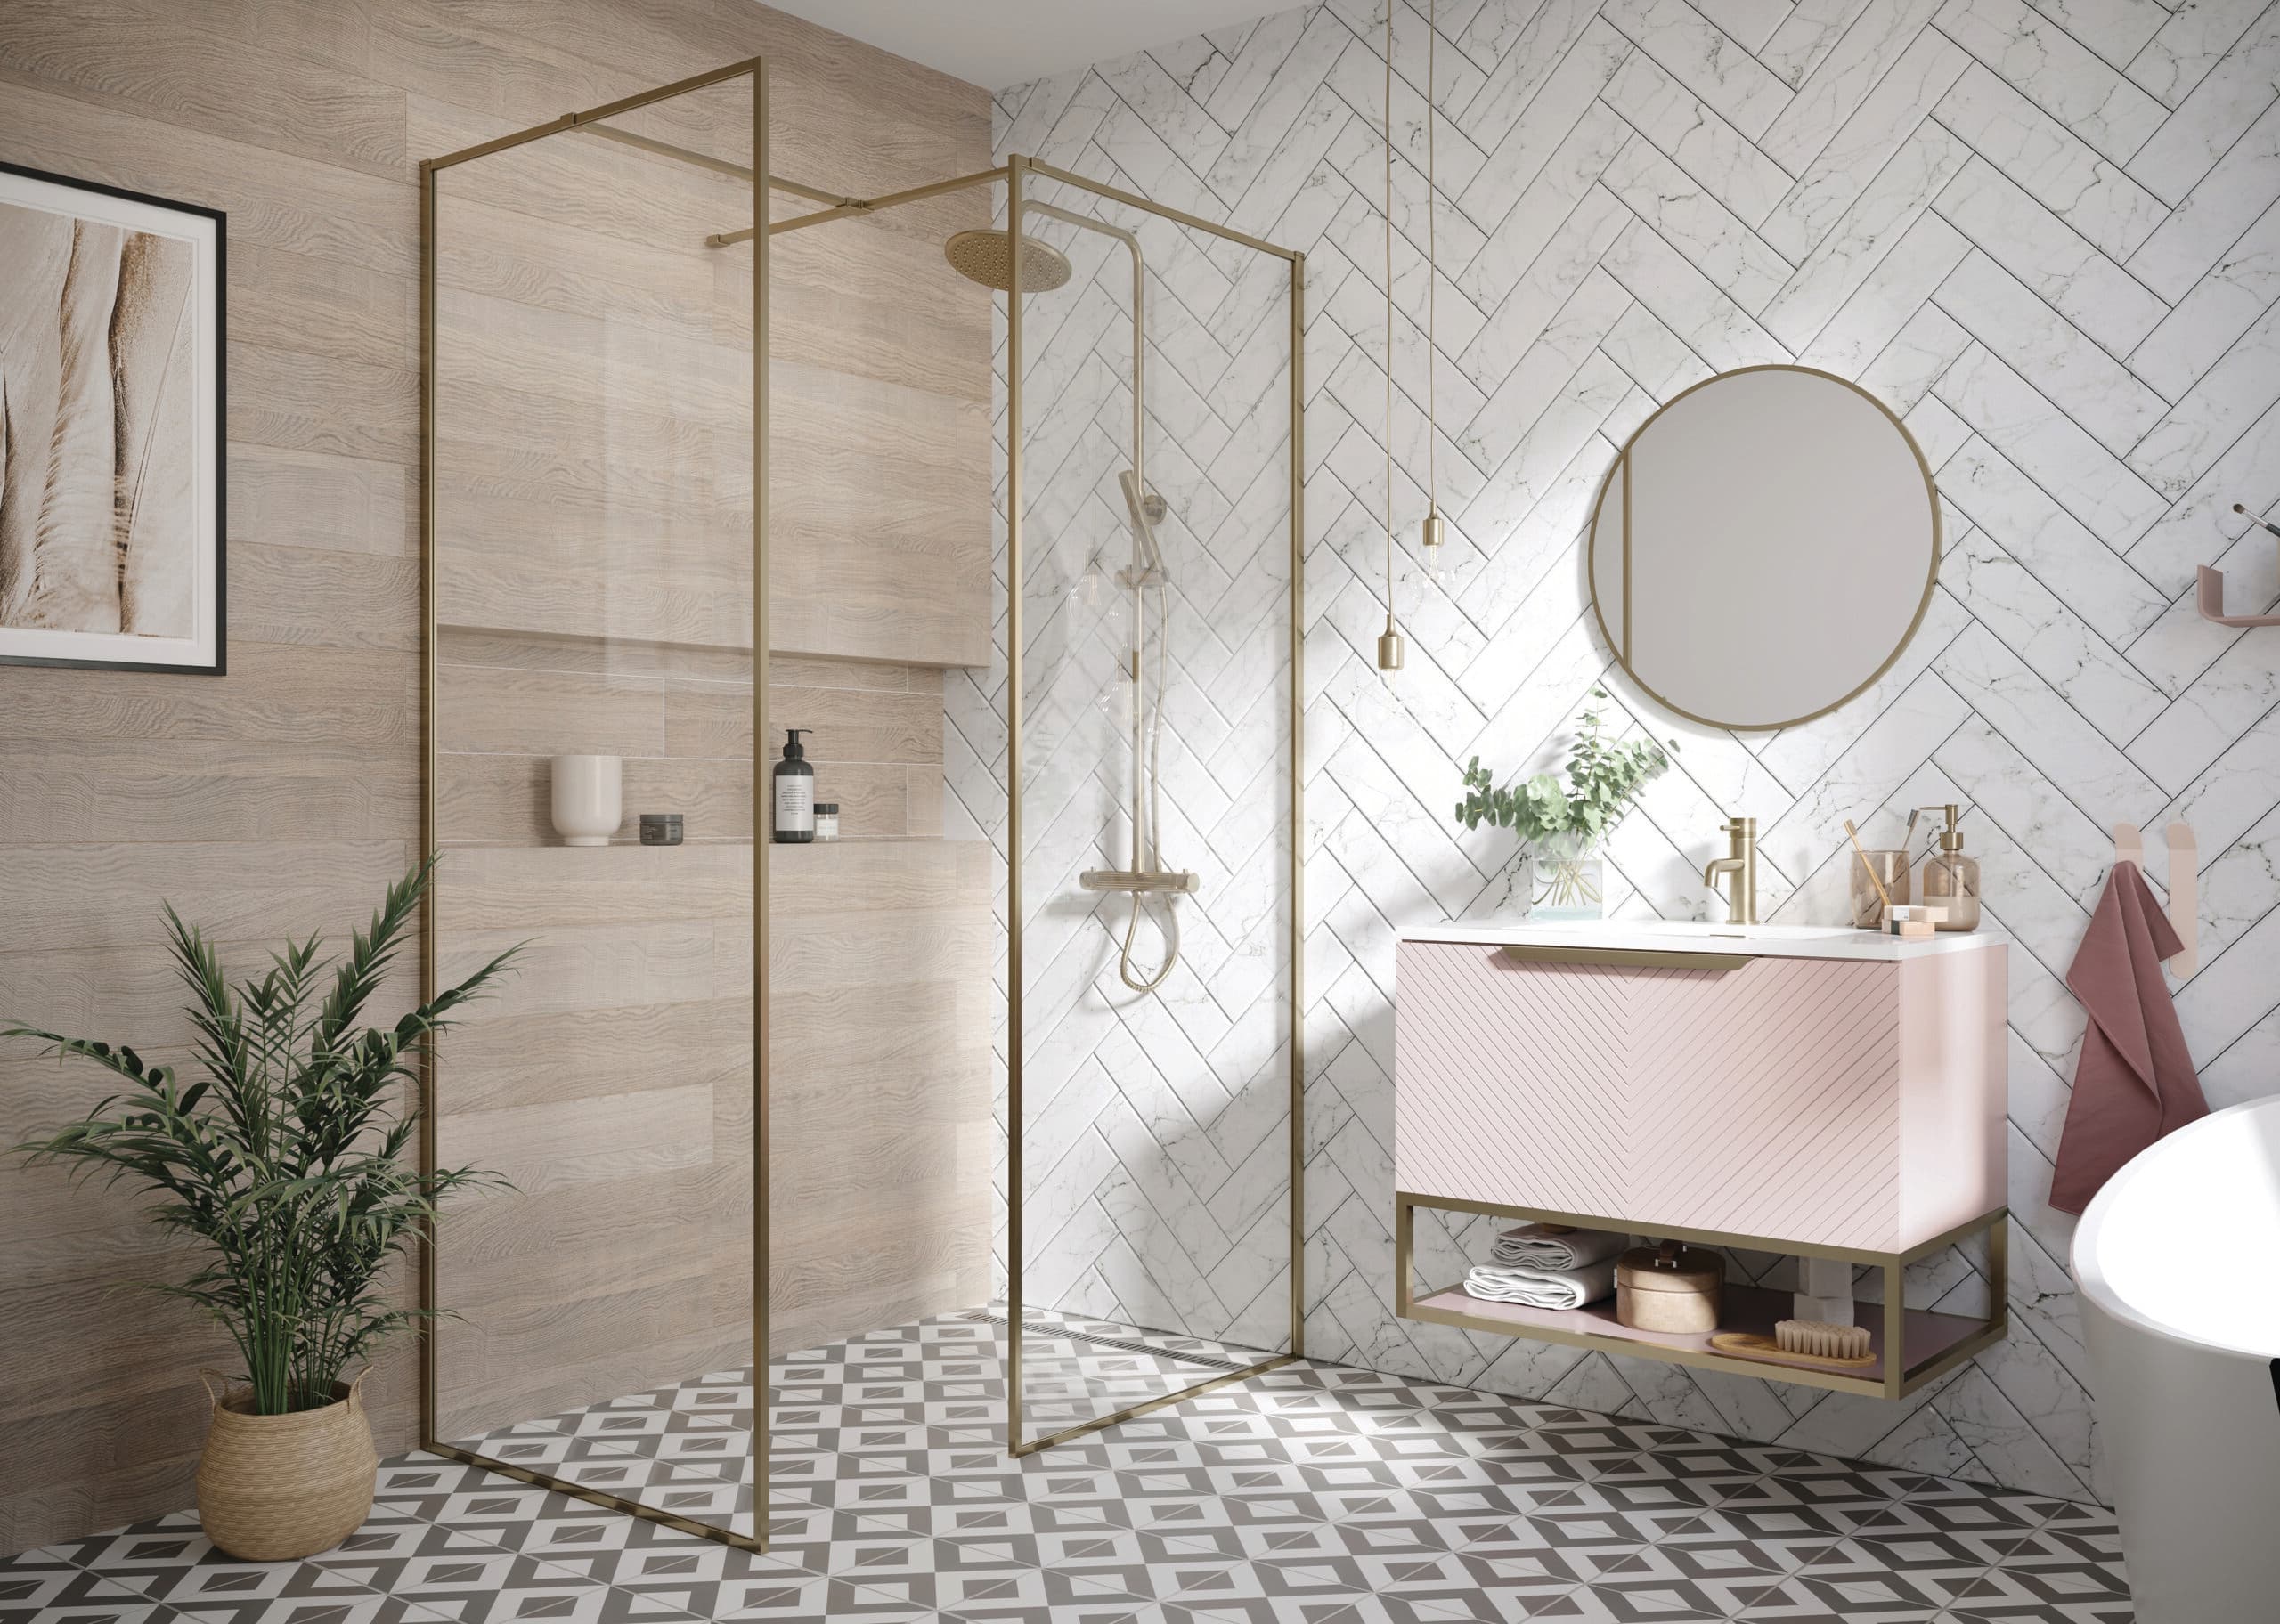
The supplier scene comes from the Minos Framed Glass Panel 800 listing. It illustrates the shower area; it does not identify the pictured tray material, finished entry height or drainage performance.
Sources & further reading
Prepared with AI assistance from the linked sources and Elegant Haven’s published service information. This guide helps you prepare decisions; product suitability and installation details need confirmation for your own room. It is not a record of a completed Elegant Haven installation or an expert sign-off.