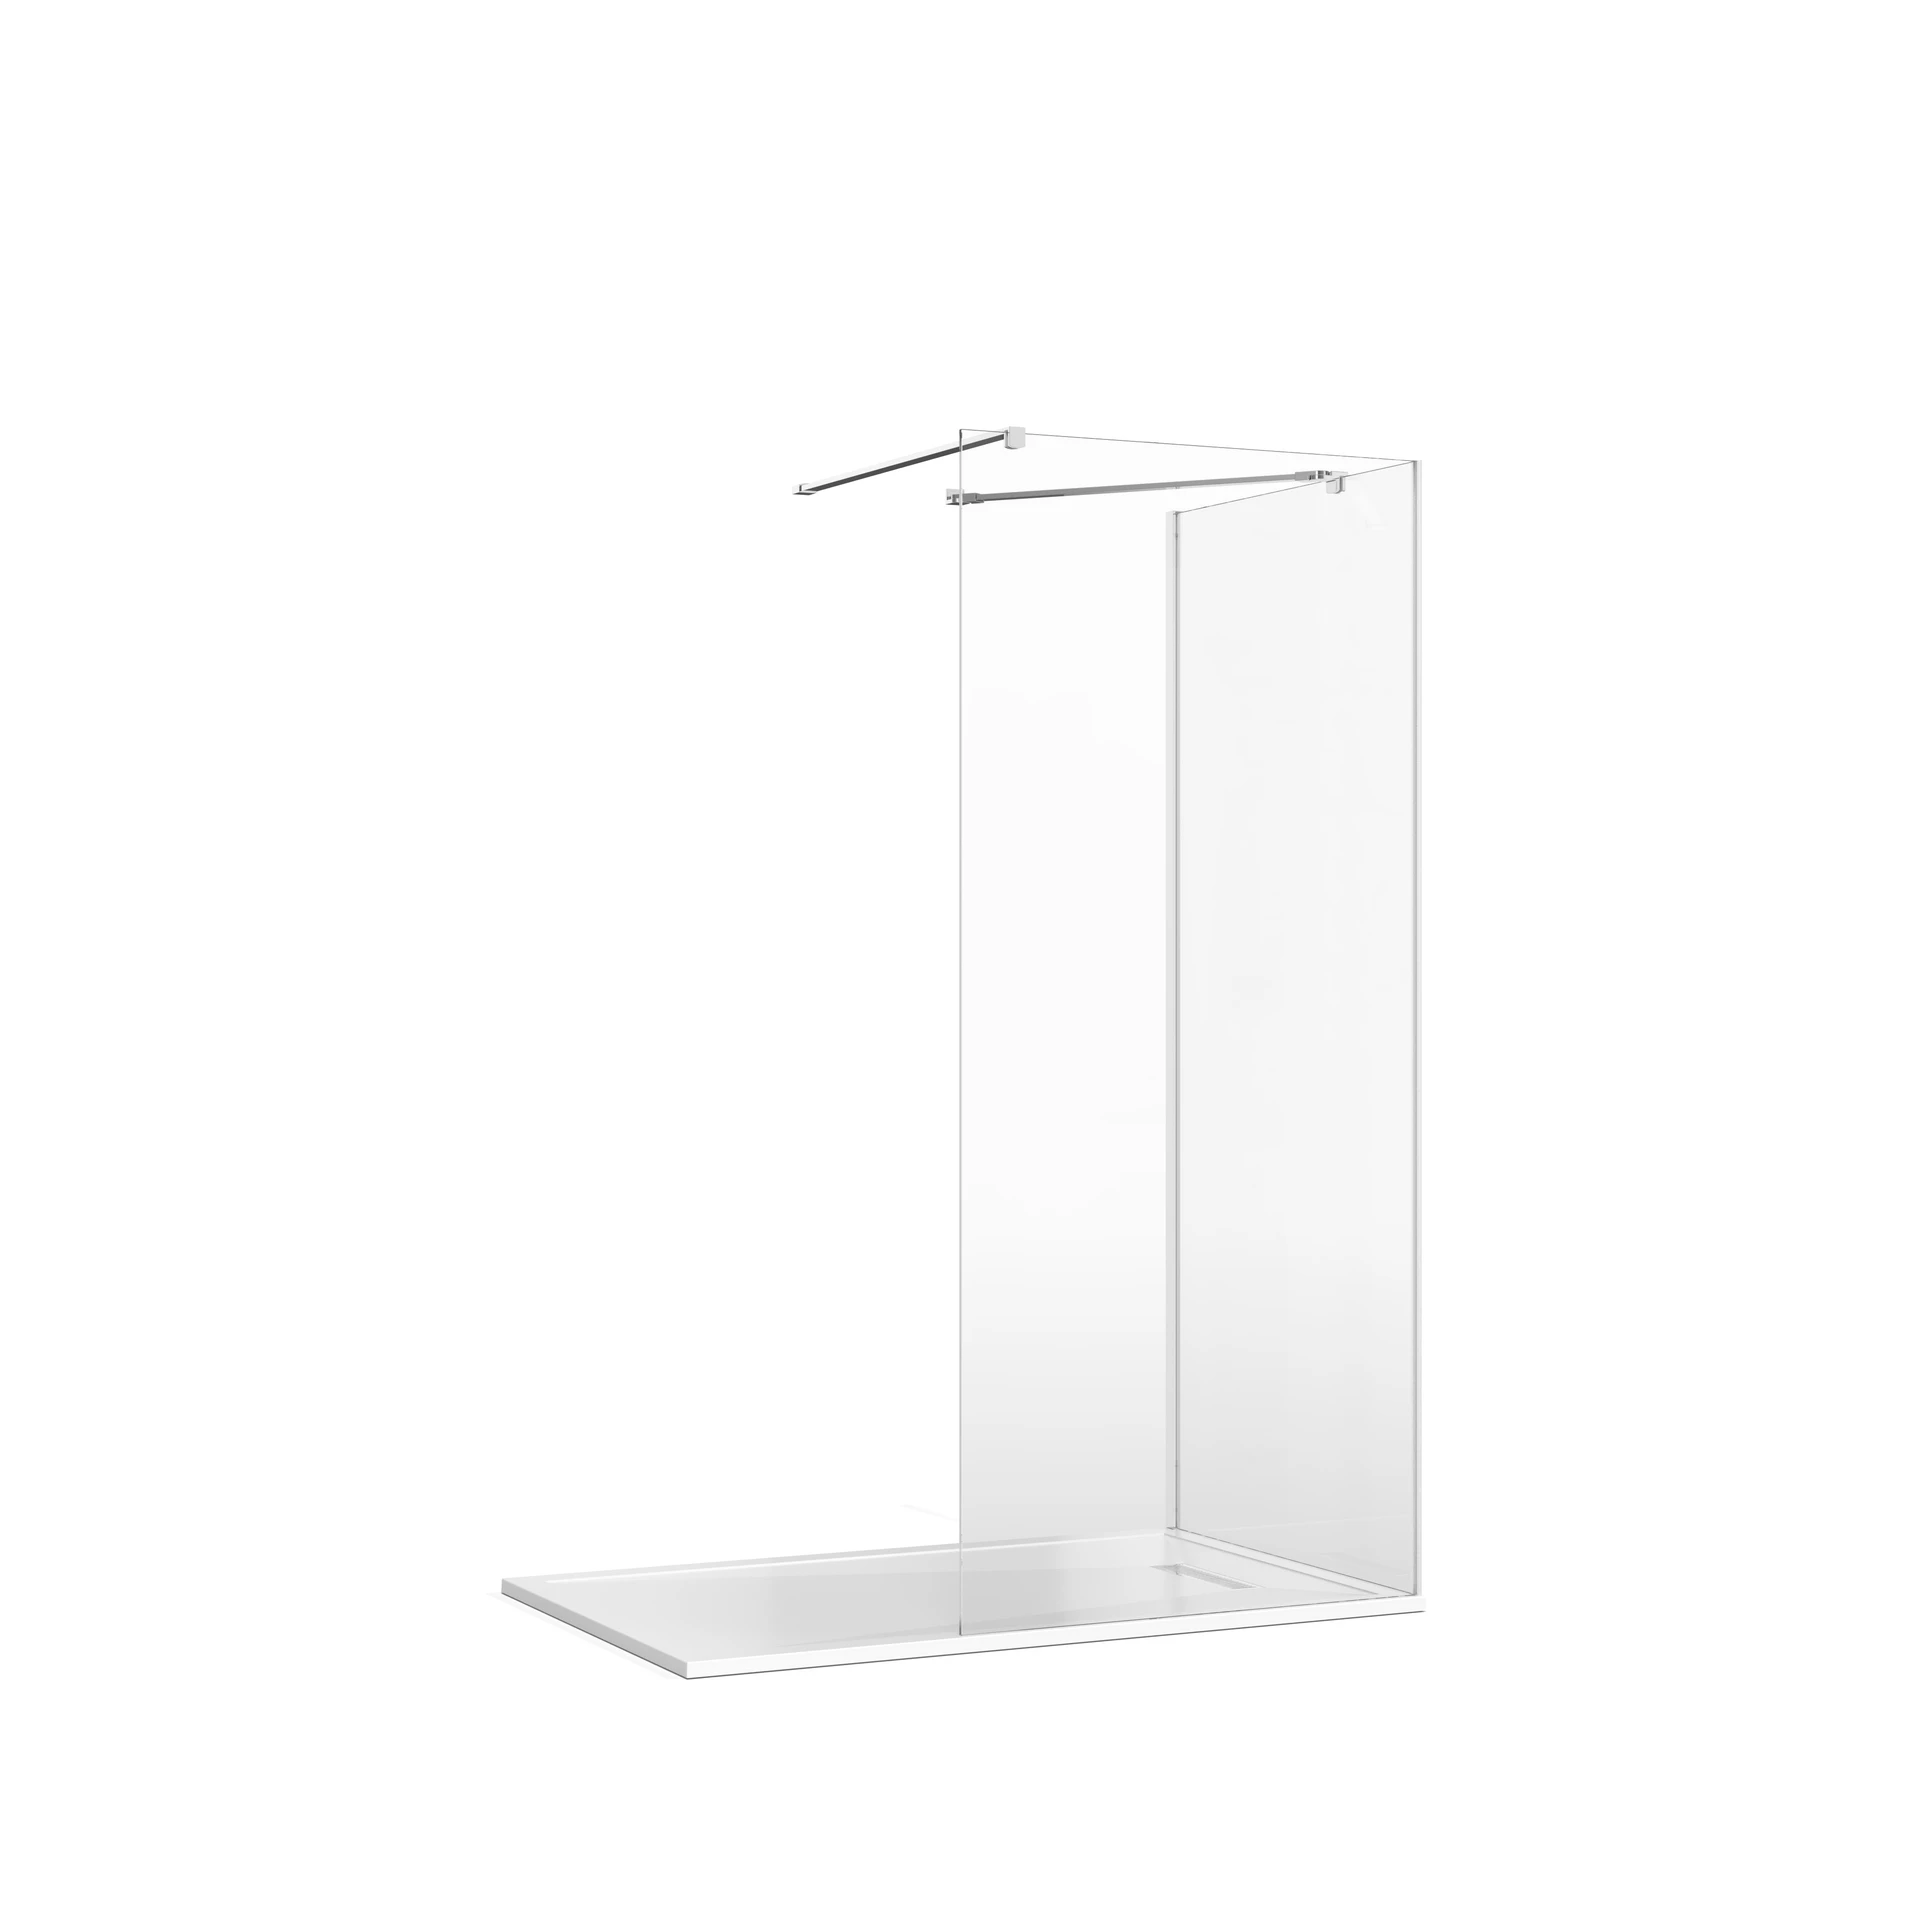
Ask for a description beyond the name
'Walk-in' is commonly used to describe the way a shower is entered, often with an open entrance beside a screen. It does not, on its own, specify what is underfoot. A proposal may use a manufactured tray or a constructed wet-room floor. Ask the designer to identify the exact arrangement rather than choosing between two labels.
Likewise, a wet-room description should be supported by a specification for the floor, drainage and waterproofing. Do not infer that every part of the room is intended to be wet, that no screen is needed, or that the entrance will necessarily be level. Those are details to agree for the actual room and users.
Compare complete proposals, not one visible component
Set out the two proposed systems side by side. For a tray arrangement, identify the tray, waste, support and enclosure or screen details required by its instructions. For a wet-room arrangement, identify the proposed floor construction, drainage, waterproofing system and finish. Ask who confirms the compatibility of each combination.
Impey's EasyFit installation guide, for example, requires a waterproof tanking membrane when a tiled floor is used and refers to the associated drain and membrane instructions. Its WaterGuard guide identifies separate junction and drain details. These are examples of coordinated system requirements, not instructions to apply the same build-up to every bathroom.
| Decision | Tray-based proposal | Wet-room proposal |
|---|---|---|
| Shower surface | Exact tray and support arrangement | Specified floor construction or former and finish |
| Water management | Waste and tray-to-surround details | Drainage and waterproofing system, including junctions |
| Entrance | Actual finished step or transition | Actual finished transition, not an assumed level entrance |
| Screen | Size, position and access arrangement | Size, position and how the proposed wet area is managed |
| Care | Tray, waste and seal details to maintain | Finish, drain and accessible details to maintain |
Resolve the room constraints before the appearance
Ask the installer or designer which site checks are needed to establish the proposed floor and drainage arrangement. Existing construction, service routes and finished levels can affect what is suitable. Do not order a collection of components on the assumption that the available depth or support will be sufficient.
Give the team the relevant product documents for the chosen shower as well as the floor system. Ask them to confirm that the combined proposal is appropriate for the installation. This guide does not provide cutting, waterproofing, drainage-sizing or structural instructions; those decisions need the exact system and competent assessment.
Compare the experience of entering, washing and drying
Describe who will use the shower and what matters to them. Consider the entrance, screen position, controls, towel location and the area used for drying. If an individual has particular access needs, explain those needs early and ask for an appropriate assessment rather than assuming a product described as walk-in will address them.
Review the screen and shower positions on the measured plan. Ask how water is intended to be managed during normal use and where everyday items will be placed. A more open photograph does not tell you how a specific arrangement will work with your room, shower outlets or routine.
Include installation scope and future care
Compare the quotations against the complete proposals. Check preparation, associated components, waterproofing, finishing, fitting and any required checks rather than comparing only a tray price with a floor-former price. Keep uncertain work visible as a question or allowance to clarify.
Ask how the completed system should be cleaned and which drain components can be accessed for routine care. Obtain the relevant instructions and any applicable warranty information. Do not assume a tiled floor or manufactured tray is maintenance-free, or that one format will always cost less in every existing room.
Choose with a system comparison sheet
For each option, record the system name and documents, the proposed entrance, one benefit for the household, the main compromise and any unresolved professional checks. Identify who will confirm the final specification. Only compare prices once the scope and assumptions are understandable.
Take this sheet to the design conversation together with your room sketch and shower shortlist. If the main question is how much room each option leaves, use the small-layout guide. If it is whether the selected shower products suit the services, use the separate compatibility checklist.
Sources & further reading
- Impey EasyFit Dec installation guide, Issue 5, 6 March 2025 ↗
- Impey WaterGuard membrane installation guide, Issue 5 ↗
- Crosswater: walk-in enclosure configurations ↗
Prepared with AI assistance from the linked sources and Elegant Haven’s published service information. This guide helps you prepare decisions; product suitability and installation details need confirmation for your own room. It is not a record of a completed Elegant Haven installation or an expert sign-off.