Begin with documents and visible information
Look for the installation invoice, handover pack or the original cistern and frame specification. A photograph of the existing plate can help a supplier narrow the options, but it is not a substitute for identifying the hidden system. Keep any code already recorded by the installer with the photo.
Geberit's compatibility guidance explains that its Sigma and Omega plate families are tied to different cistern systems. The installation generation can also matter. Its advice on identifying a concealed cistern includes professional assistance where access is needed; do not force a plate off simply to find a label.
Check the mechanism and orientation
Ask how the plate operates the cistern and whether the proposed plate is listed for that exact system. Mechanical, pneumatic and electronic control arrangements should not be treated as interchangeable by appearance. A special or remote control may need additional components or services.
Also confirm whether the cistern is designed for front or top operation in the proposed installation. Geberit's actuator information distinguishes systems and available positions. A low enclosure, shelf or worktop can make that choice important, but the exact manufacturer's arrangement must determine it.
| Identification field | Evidence to bring |
|---|---|
| Cistern brand and model | Invoice, handover record or professional identification |
| Series/generation | Exact code or confirmed date range |
| Existing control | Photo and model if known |
| Operation and position | Compatible method; front/top or other approved location |
| Proposed plate | Full code including finish and any required kit |
Keep appearance and access together
Once a compatible plate is identified, check the surrounding finished wall. The plate may also provide a service opening, so its release movement and maintenance space matter. Use the concealed-cistern access checklist before adding a shelf or choosing a furniture top.
Then try the control reach and labels. A compatible plate can still be awkward to press or difficult to read in a particular position. Treat usability and technical compatibility as two checks on the same shortlist.
Request a written compatibility pair
Ask the supplier to record the cistern code and proposed plate code together, with any required adaptor or control kit. If a part is described as universal, ask what systems and conditions that description actually covers. Leave the order unconfirmed if the hidden cistern has not been identified.
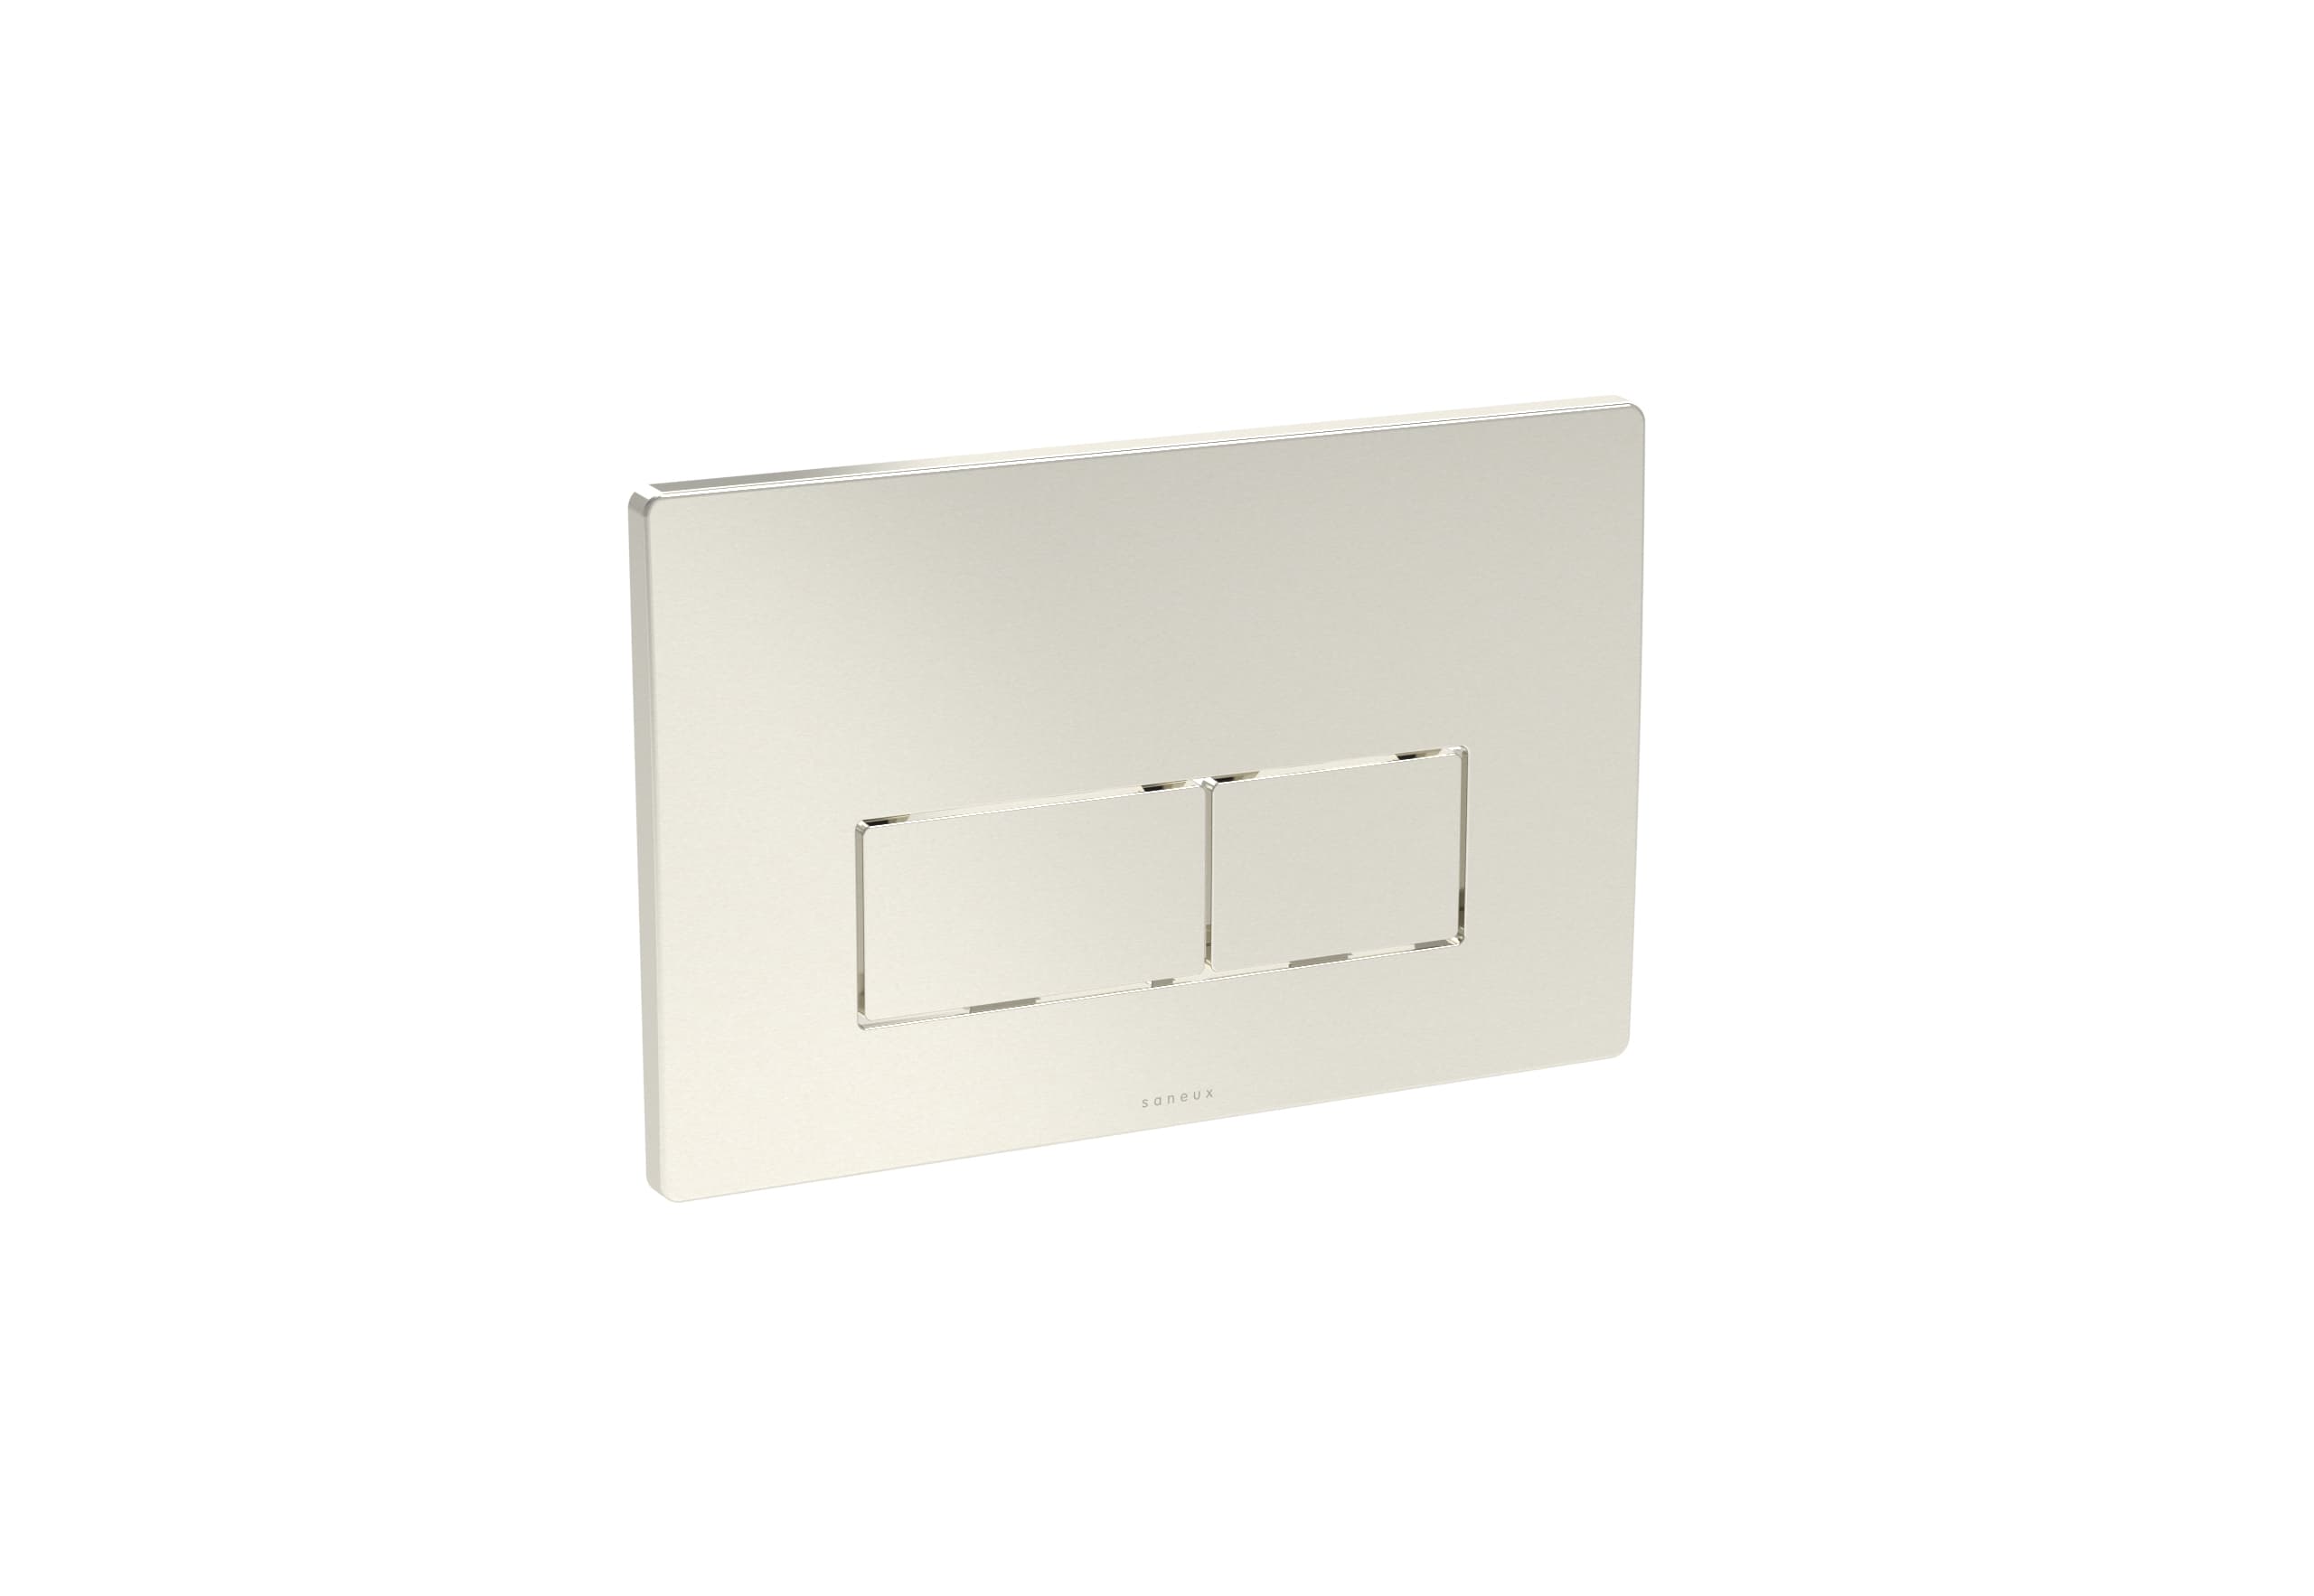
Transfer the pair into the toilet component checklist and keep the old information for future servicing. The product illustration in this guide is a flush-plate example; it is not evidence that its plate fits another manufacturer's cistern.
The supplier image is from the FLUSHE 2.0 square flush plate KIT - Brushed Nickel listing. Check the exact specification, included parts and available showroom examples before choosing. The illustration is not an Elegant Haven installation or proof of suitability for your room.
Sources & further reading
Prepared with AI assistance from the linked sources and Elegant Haven’s published service information. This guide helps you prepare decisions; product suitability and installation details need confirmation for your own room. It is not a record of a completed Elegant Haven installation or an expert sign-off.