Ask what can be serviced through the opening
Start with the manufacturer's instructions for the exact cistern and frame or furniture arrangement. Ask the installer to identify the access opening, the parts intended to pass through it and any components requiring a different route. Do not assume that a large decorative plate means every hidden joint is accessible.
Geberit's current fill and flush valve information describes compact service design for particular products. That supports asking about removal through a service opening; it does not prove another cistern or a boxed-in connection can be maintained the same way.
Check the finished surroundings
Draw the plate or access panel on the finished wall elevation, including shelves, worktops and adjacent cabinets. Ask how it moves during removal and where a person and tools need room to work. A shelf can leave the button visible while blocking the movement needed to release the plate.
The flush-plate compatibility guide helps identify the correct plate family. The finished boxing-depth guide puts the same opening into the room section. These are linked decisions: changing a wall build-up or top surface can affect the access arrangement.
| Maintenance item | Record before finishing |
|---|---|
| Plate or panel removal | Required movement and clear space |
| Fill and flush parts | Which route the manufacturer provides |
| Isolation and supply connection | Location and installer-confirmed access |
| Other concealed joints | Separate access provision where needed |
| Replacement identification | Cistern, plate and relevant part codes |
Make access part of handover
Ask the installer to demonstrate the permitted user-facing access and explain which work belongs to a professional. You do not need to dismantle the cistern to understand its service route. A labelled handover photograph can record the model identification and opening before the final cover goes back.
Keep seat removal separate. A quick-release seat does not provide access to the concealed cistern, and cistern access does not establish that the seat hinges can be maintained. Record both where the room is tightly fitted.
Leave a useful record for a future repair
Store the installation instructions, confirmed product codes and a simple diagram showing access locations with the household's bathroom documents. Note the date and the installer who confirmed the arrangement. If a later cabinet or shelf is added, refer back to that diagram before changing the space.
Bring unresolved access questions to the showroom appointment while the design can still change. The goal is not merely a hidden cistern: it is a finished bathroom in which the specified maintenance route remains usable. If the route cannot be explained, keep that point open before approving the enclosure.
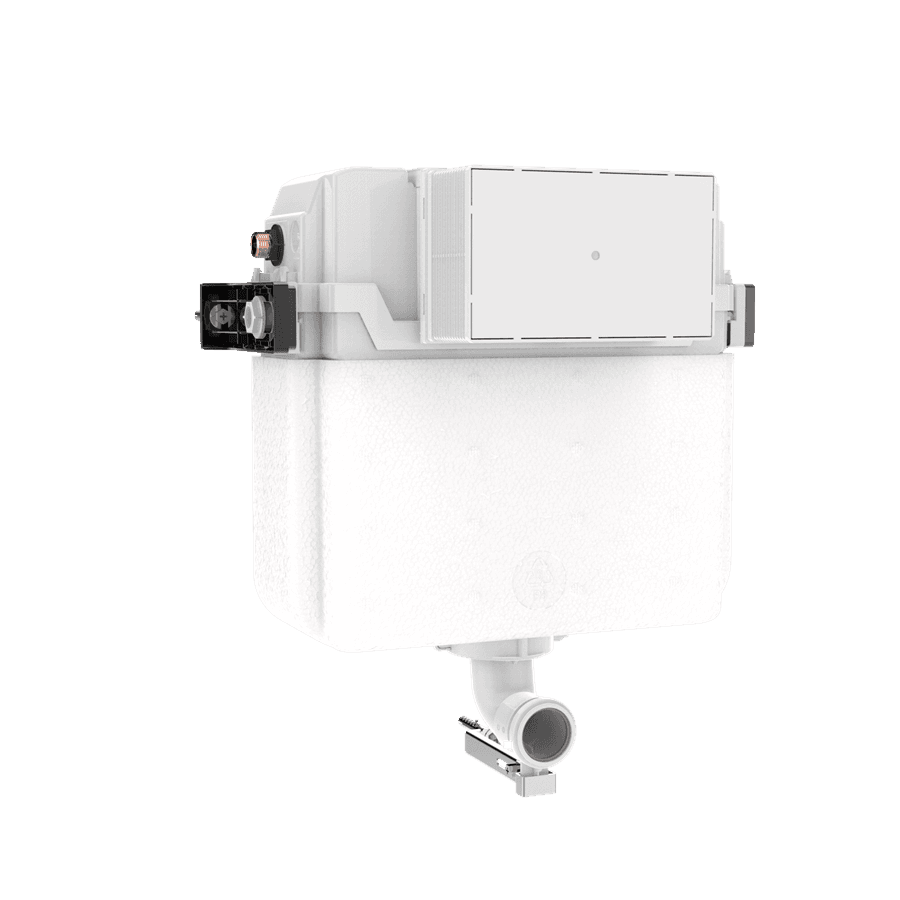
The supplier image is from the Dual Flush Concealed Cistern (with discharge pipe & installation kit) listing. Check the exact specification, included parts and available showroom examples before choosing. The illustration is not an Elegant Haven installation or proof of suitability for your room.
Sources & further reading
Prepared with AI assistance from the linked sources and Elegant Haven’s published service information. This guide helps you prepare decisions; product suitability and installation details need confirmation for your own room. It is not a record of a completed Elegant Haven installation or an expert sign-off.