Start with the bath’s own instructions
Check whether the chosen bath has prepared tap holes, supports manufacturer-approved drilling or requires a separate mounting position. Crosswater states that its baths are not supplied with pre-drilled tap holes and that suitability for drilling varies by model. That brand guidance must not be applied to every bath.
Ask the supplier and installer to confirm the exact bath and filler combination. Do not plan a deck-mounted tap on the basis of a broad, flat-looking rim in a photograph.
Compare the three placement tasks
Draw the bath outline, proposed filler and the space used for getting in, getting out and cleaning. Mark where you stand to turn the water on. The aim is a practical arrangement, not simply a symmetrical elevation.
A wall or floor position may require coordination beyond the visible fitting. Keep the installer’s preparation and service plan alongside the preferred appearance.
| Position | Main questions |
|---|---|
| Bath deck | Does this exact bath permit the mounting arrangement and support it? |
| Wall | Where will the spout land relative to the finished wall and bath rim? |
| Floor | How is the specified assembly supported and connected, and does it obstruct movement? |
| All three | Can the controls be reached without awkward leaning? |
| All three | What space remains for cleaning and service access? |
Check the complete filling system
A bath spout may be sold separately from the controls and concealed valve. A bath-shower mixer may add a handset and diverter. List the required functions and obtain the complete component schedule before comparing quotes.
Ask for flow information under its stated conditions and have the installer assess it with the hot-water arrangement. Do not infer bath filling time from an attractive spout or an unstated catalogue flow figure. If outlets are shared, the operating matrix can record the intended behaviour.
Use a dry reach trial at the appointment
Try the proposed control action and discuss the position relative to the actual bath. Consider cleaning behind a floor-mounted filler, reaching wall controls and avoiding a protruding spout on the entry route. Do not use a filler as a handhold or support.
Take the placement sketch to the showroom appointment. Keep the selected finish’s care instructions with the order and check the exact bath choice against the room layout.
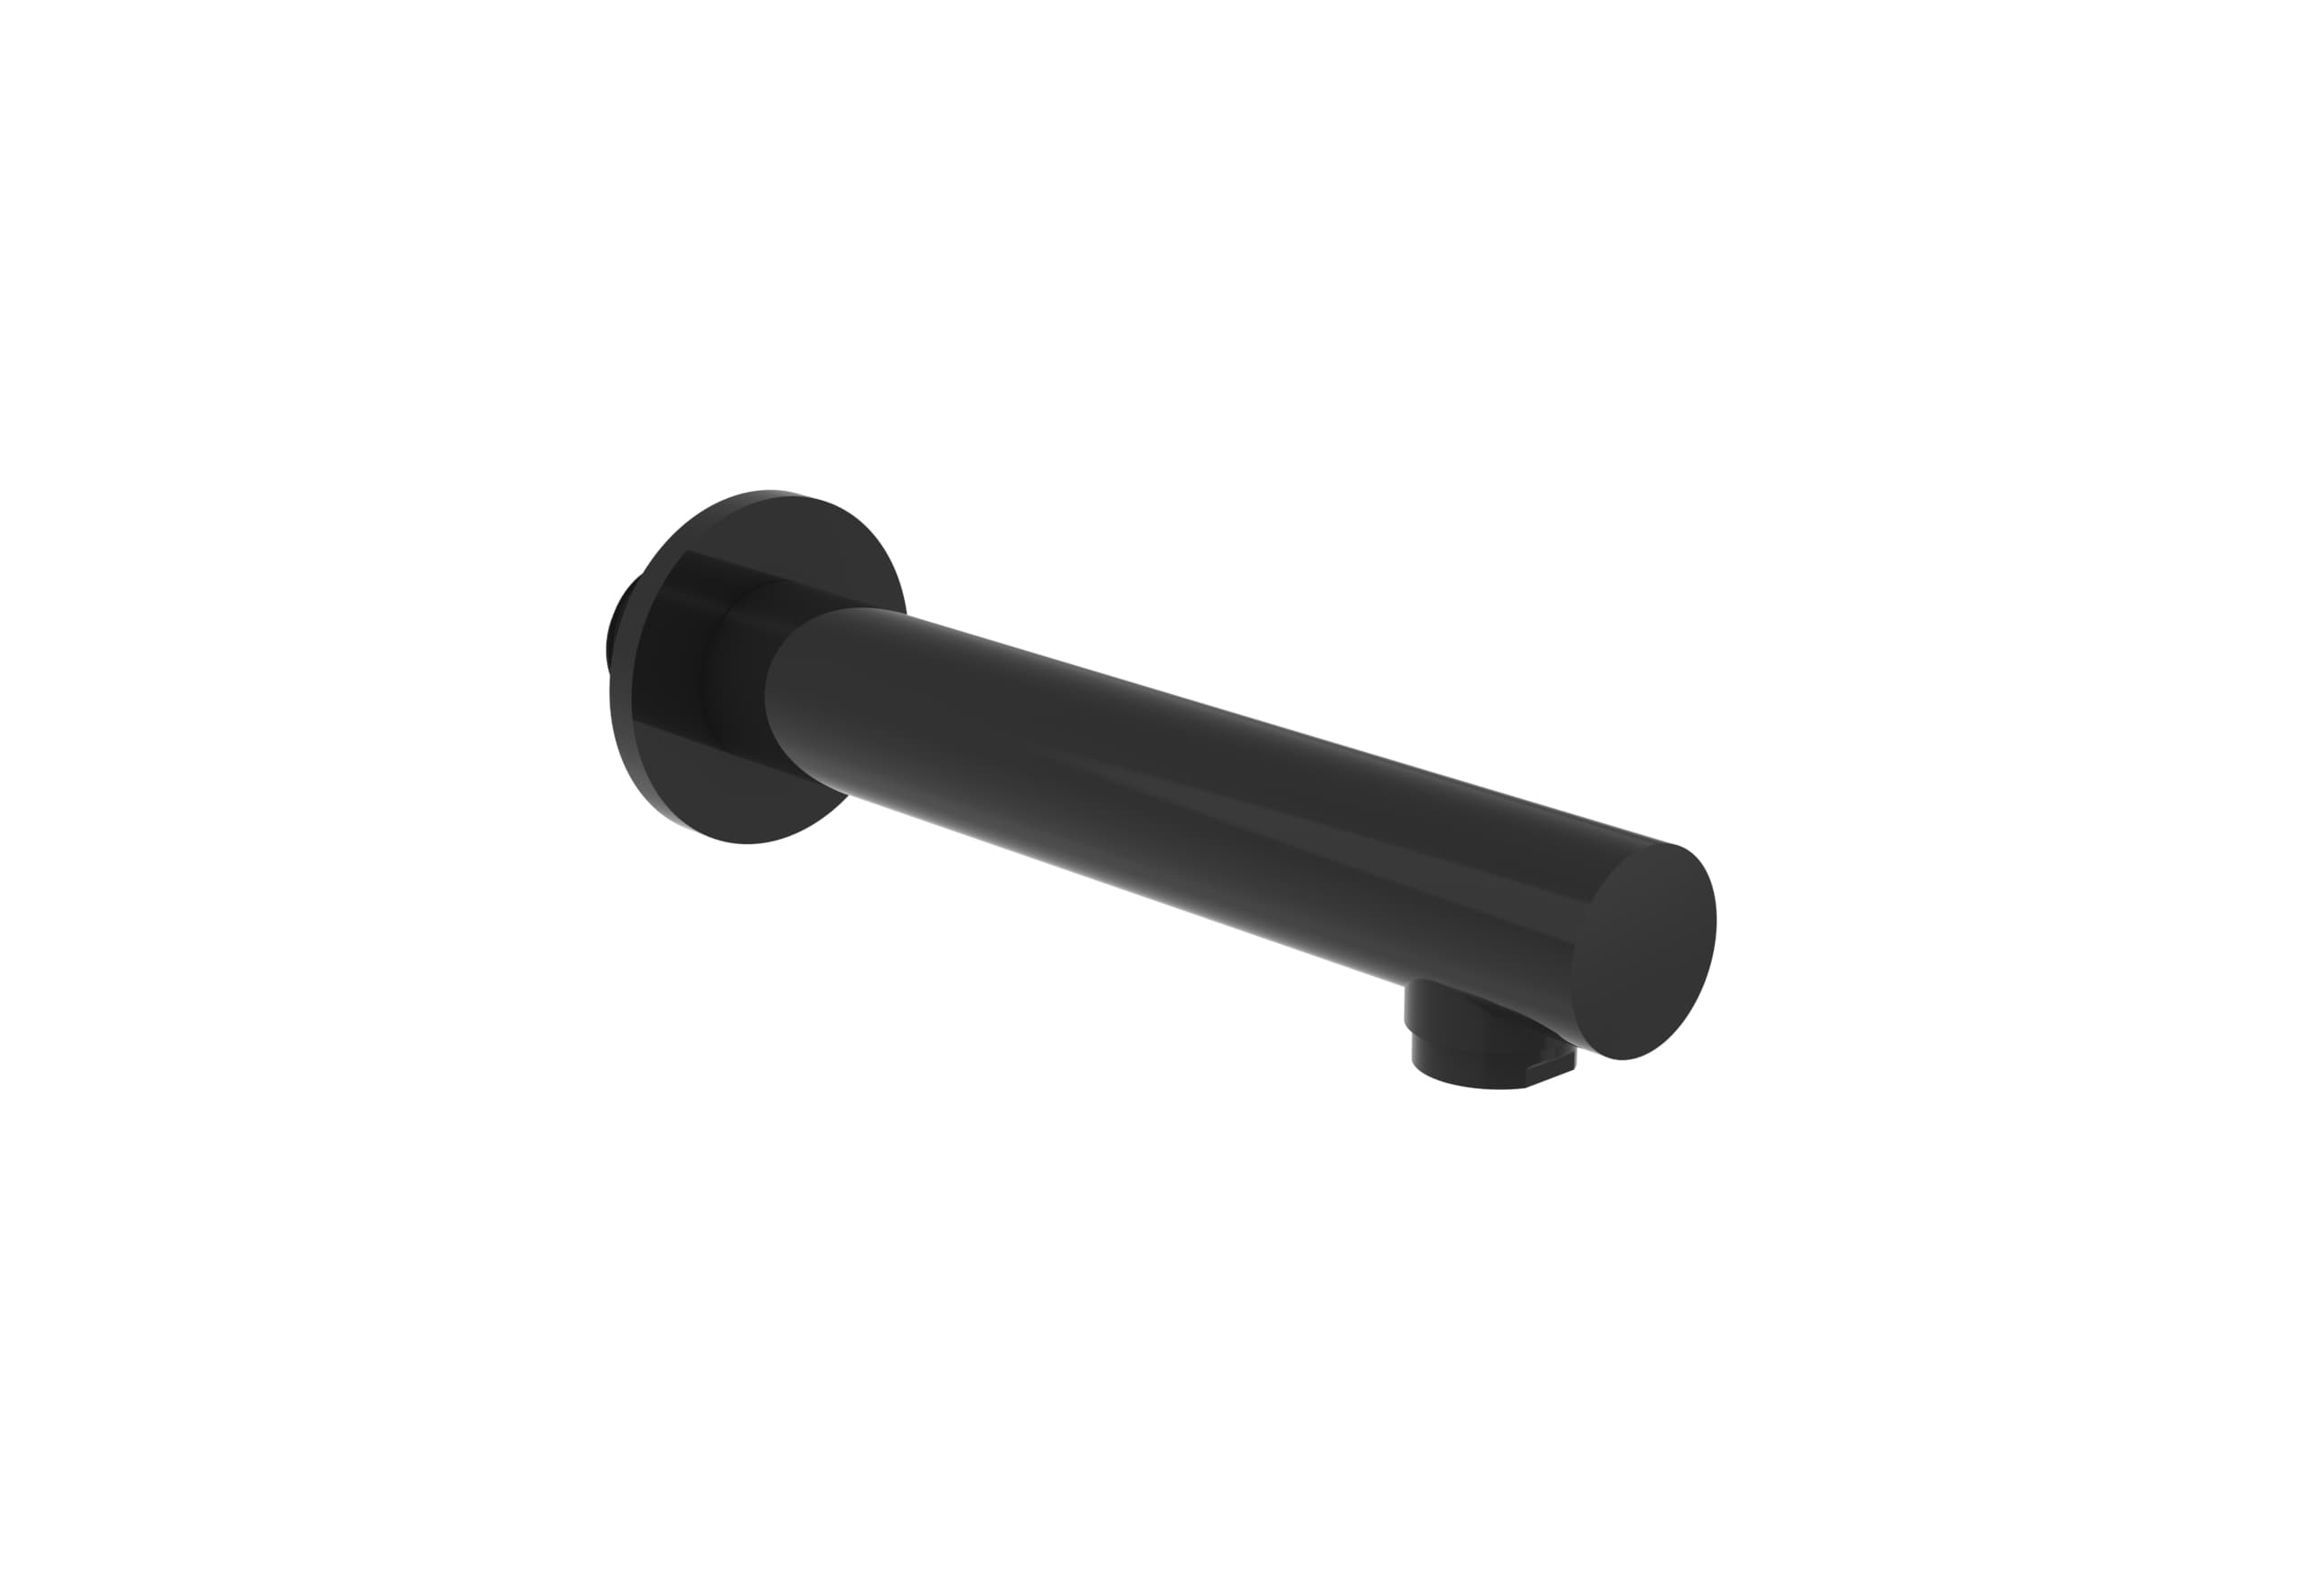
The pictured supplier example is COS 220mm round bath spout - Satin Black. Use its exact specification when comparing options; the image does not confirm stock, showroom display availability or suitability for your room.
Sources & further reading
Prepared with AI assistance from the linked sources and Elegant Haven’s published service information. This guide helps you prepare decisions; product suitability and installation details need confirmation for your own room. It is not a record of a completed Elegant Haven installation or an expert sign-off.