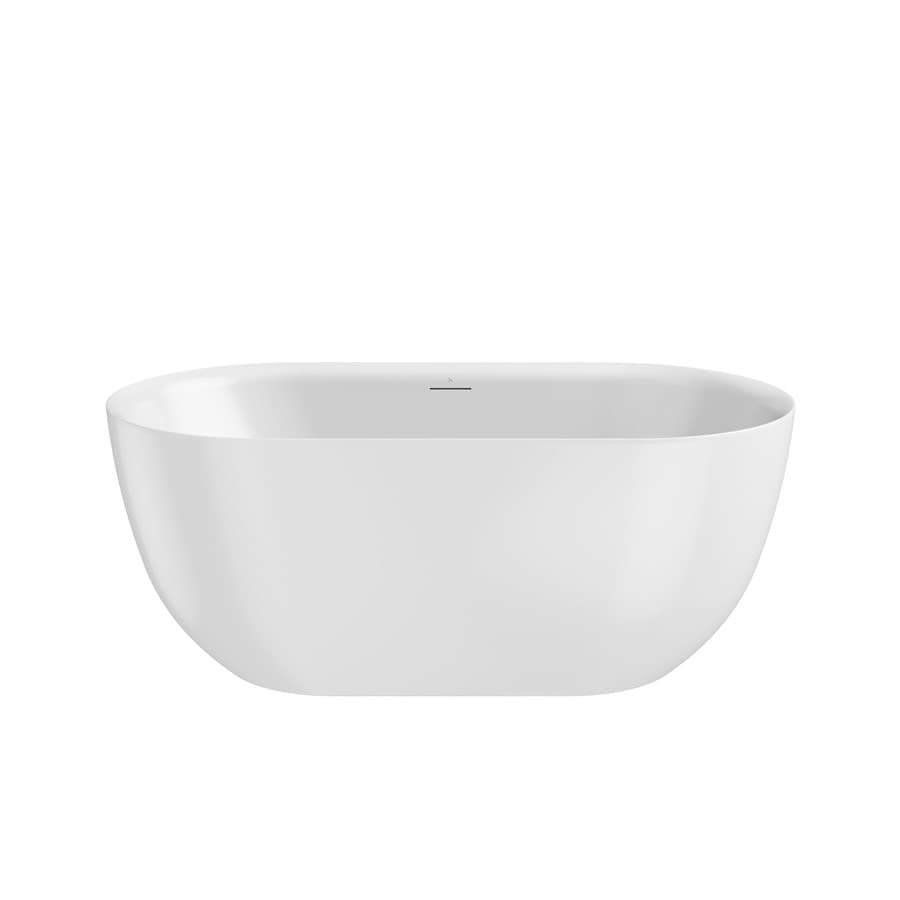
Start with the exact bath, not the photograph
Save the model code, technical drawing and chosen configuration together. Freestanding baths can differ in shape, rim, feet, tap arrangement and waste connection. The overall rectangle is only the starting point for understanding how a particular bath will occupy the room.
Burlington’s Buckingham Slipper Bath E6 gives a useful example: the checked product page lists a length of 1500mm and a width of 740mm in its technical specifications. The page also provides a technical drawing and identifies installation-related extras. Use the current documentation for the exact model being quoted; do not substitute a generic “1500 bath” outline.
Where a product name, photograph and dimension sheet appear inconsistent, ask the supplier to confirm the correct version before ordering. Record that answer with the quotation. Do not choose whichever dimension happens to make the layout work.
Draw the activities around the bath
Add the bathroom door, drawers, toilet, towel storage and proposed taps. Mark the side from which someone would approach, get in, get out and reach controls. Ask the designer to show the practical use of the room as well as the fixture itself.
Cleaning is another activity to draw. If a gap is left behind the bath, explain how you expect to reach it and ask whether that is realistic for the selected shape. A narrow gap is not automatically useful merely because it appears on the plan.
Do not adopt a universal clearance from an unrelated layout. Requirements depend on the actual products, room and users, and the relevant professional should confirm the proposal. A compact room may suit a different bath shape or arrangement once these tasks are considered.
Door and drawer movement with the bath in place.
The route between the basin, toilet and room exit.
Access to taps, controls and everyday storage.
The areas you expect to clean around and beneath the bath.
Any support or assistance needs to discuss with the designer.
Use a simple calculation to expose an unanswered question
Suppose, purely as an example, a preliminary room sketch shows 2200mm along the wall where a 1500mm-long bath is proposed. Subtracting the two leaves 700mm in total. That number does not establish suitable clearance: the remaining space could be split differently at each end, occupied by another item or affected by the wall finish.
The useful next step is to label that 700mm on the sketch and ask what each part is intended to do. Is one end for the tap? Is it part of a route? Has the measurement allowed for the proposed finished walls? The arithmetic reveals questions; it does not answer them.
If the final measured room or selected bath changes, repeat the comparison. Keep preliminary dimensions clearly labelled until the person responsible for final measurement has confirmed them.
Check the route and the work hidden from view
Ask the supplier and installer to consider the delivery route, including the entrance, stairs, corners and final doorway. Knowing the room can accommodate a product does not establish that its packaged or assembled form can reach the room. Confirm who checks that route and what information they need.
The installer also needs to assess the intended support and connections for the selected bath. Explain whether the floor or room layout is changing and what information is currently unknown. Do not use the empty product weight as a DIY decision about an existing floor.
Keep practical responsibilities visible in the quote: delivery, moving the product into position, required fittings, installation and any associated making good. A product-only amount should not be read as the cost of the completed arrangement.
Check that the shortlist is a complete arrangement
A lifestyle image can show parts that are not included in the selected item. Ask for a list of the bath, support or feet, waste and overflow arrangement, taps and any associated fittings for that exact configuration.
Have the supplier identify which items are included, separate, optional or still to be chosen. If the bath is to be used with a shower, confirm that this is an intended and compatible arrangement; appearance alone does not establish it.
| Item to settle | What to record |
|---|---|
| Bath | Model code, version and current drawing |
| Supporting parts | Included or separate, with exact references |
| Water and waste fittings | Proposed products and who confirms compatibility |
| Room and route | Final measurement and delivery-check responsibility |
| Unresolved issue | Named person and answer needed before ordering |
Bring a useful shortlist to the appointment
Take one preferred bath and one credible alternative, with the same level of information for both. Include your annotated room sketch and the practical trade-off you are considering: for example, a particular silhouette versus easier access around the room.
If the preferred bath does not meet the confirmed brief, changing it early is more useful than forcing the rest of the design around an unresolved fit. The outcome should be a supported choice with remaining checks assigned, rather than a purchase based on nominal dimensions.
Sources & further reading
Prepared with AI assistance from the linked sources and Elegant Haven’s published service information. This guide helps you prepare decisions; product suitability and installation details need confirmation for your own room. It is not a record of a completed Elegant Haven installation or an expert sign-off.