Record the basin before choosing the tap
For a retained basin, find its model information and photograph the mounting area. Note whether the taps sit on the basin, a countertop or the wall. Visible covers can obscure an existing arrangement, so ask the installer to establish anything uncertain.
For a new basin, use the exact product drawing and selected variant. A photograph showing one hole does not establish that every size or version has the same preparation. Do not plan drilling or modification unless the manufacturer expressly supports it for that product.
Compare the mounting format and the operation
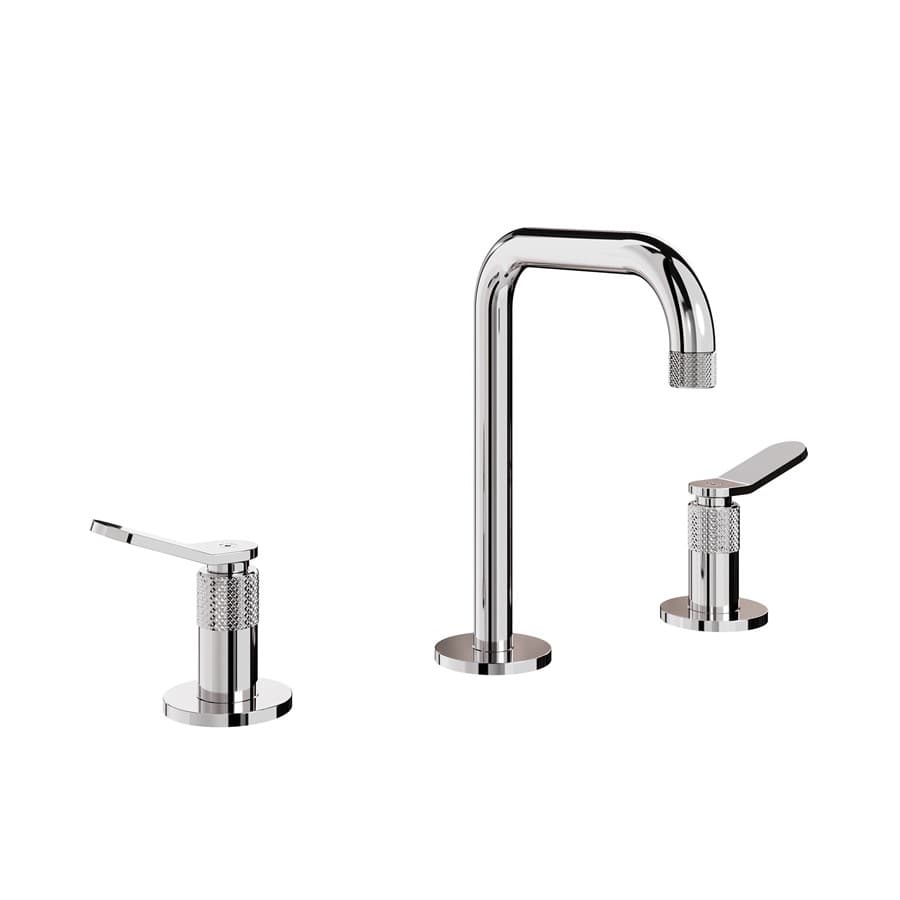
A basin monobloc mixer commonly uses one mounting hole and delivers mixed water from one spout. Separate pillar taps normally provide individual hot and cold outlets. Multi-hole mixer sets may separate the spout and controls while still delivering mixed water.
These are format descriptions, not universal fitting specifications. Crosswater’s Drift example is a single-hole, single-lever mixer; other products can use different mechanisms and controls.
| Arrangement | Question for the shortlist |
|---|---|
| Single-hole mixer | Does this exact tap fit the prepared hole and surface? |
| Separate pillar taps | Are the basin and supplies suited to two separate outlets? |
| Multi-hole mixer set | What hole pattern and spacing does this set require? |
| Wall-mounted set | How are the concealed body and finished wall coordinated? |
| Any arrangement | Can the intended user comfortably operate the controls? |
Try the movement you will use every day
Try the intended lever, crosshead or separate controls on an appropriate dry display. Check the direction, grip and full movement, including clearance near a wall. One lever may suit a household preference, but the actual action matters more than the label.
Pair that trial with the height and projection sketch. A comfortable control cannot compensate for a spout that is poorly positioned for the bowl.
Write the order as a complete pairing
Record the basin and tap codes, hole arrangement, mounting surface and included parts. Ask whether a waste is supplied, and whether it suits the basin’s overflow arrangement. An included clicker waste is not automatically the right answer for every basin.
Use the basin waste checklist and bring the combined record to the showroom appointment. If you favour a wall-mounted design, resolve the wall and bowl positions before the finish is set.
The pictured supplier example is The Calix Basin 3H Deck Mounted Tap Set. Use its exact specification when comparing options; the image does not confirm stock, showroom display availability or suitability for your room.
Sources & further reading
Prepared with AI assistance from the linked sources and Elegant Haven’s published service information. This guide helps you prepare decisions; product suitability and installation details need confirmation for your own room. It is not a record of a completed Elegant Haven installation or an expert sign-off.