Choose a shared reference for the drawings
A wall tap’s projection is useful only when its reference point is clear. Ask the installer to mark the finished wall plane and the finished basin position on one drawing. Allow the installer to coordinate the wall build-up with the product’s permitted installation arrangement.
Use the exact basin and tap models, not a generic symbol from an early mood board. Moving the basin forward or changing its rim height can alter a pairing that looked suitable at the first design discussion.
Review the water path and the hand space
Mark the spout outlet relative to the rim and inner bowl, then review the intended hand-washing space. Keep lever movement and access to any waste control in view. Avoid adopting a universal height above the basin without checking the actual pair.
The basin tap geometry guide explains the shared sketch. Here the additional decision is when the hidden installation commits the position, and who confirms it.
| Decision to freeze | Evidence to keep |
|---|---|
| Finished wall plane | Agreed wall finish and build-up |
| Basin position | Model, height and distance from wall |
| Spout position | Exact tap drawing with reference points |
| Concealed parts | Body and trim codes with instructions |
| Service route | Manufacturer’s intended access and installer’s plan |
| Sign-off | Who confirms the layout before finishing |
Distinguish the visible set from the hidden assembly
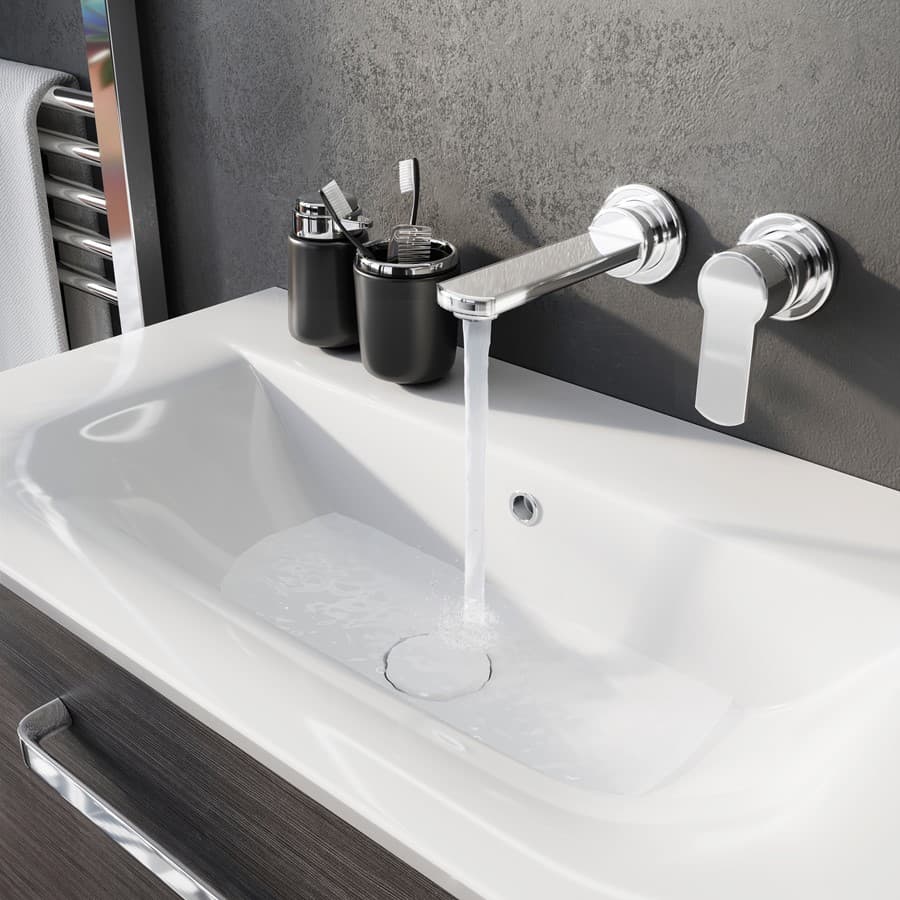
Ask which parts the listed set contains and what must be ordered separately. A photograph of a spout and lever cannot show the full concealed assembly. Crosswater’s Wisp wall-mounted set is an example of the format, not confirmation that its dimensions suit your basin.
Ask how routine service parts are accessed and what a more extensive future replacement could involve. Do not assume any later trim or spout from the same brand will fit the installed body. Keep model-specific documents with the room records.
Make substitutions reopen the relevant checks
If the basin, countertop, wall finish or tap changes, identify which dimensions need revisiting. Record the revised drawing rather than relying on a verbal assurance that the products are nearly the same. This is particularly useful when an alternative becomes available after an initial quote.
Bring the coordinated brief to the showroom, along with the mounting-format comparison. Ask to see the chosen finish where available and confirm all outstanding site questions before ordering the concealed parts.
The pictured supplier example is Wisp Basin 2 Hole Set. Use its exact specification when comparing options; the image does not confirm stock, showroom display availability or suitability for your room.
Sources & further reading
Prepared with AI assistance from the linked sources and Elegant Haven’s published service information. This guide helps you prepare decisions; product suitability and installation details need confirmation for your own room. It is not a record of a completed Elegant Haven installation or an expert sign-off.