Look for an existing model record
Start with an invoice, handover pack or readable product label. A clear photograph of the whole toilet and another of the seat can help a supplier distinguish similar shapes. Keep the pan model separate from the cistern model: a familiar cistern does not necessarily identify the seat.
If the original seat is damaged or does not fit well, do not copy its dimensions as the only evidence. It may already be the wrong replacement. Record the ceramic pan and ask the supplier which seat is intended for it before comparing adjustable alternatives.
Use explicit reference points
Croydex's fitting overview calls for length, width and bolt-hole spacing. Its model drawings also illustrate why the dimension lines matter: overall seat size and the distance from fixings to the front are not interchangeable. Read the proposed drawing before deciding where to place a tape.
Measure only what is safely accessible. If the hinge covers obscure the hole centres, mark that measurement as unconfirmed and ask for help. Do not force old fixings or remove a seat without knowing how it is intended to release. Use a top-down photograph to show the outline, with measurements written separately.
| Record | Reference to state |
|---|---|
| Shape | Oval, D-shaped, square or another outline; photograph it |
| Fixing spacing | Centre to centre, if accessible and confirmed |
| Pan width | Widest relevant point on the ceramic rim |
| Front-to-back measurement | Name both ends: fixing line, rear edge or pan front |
| Rear clearance | Cistern or wall that could obstruct the raised lid |
Check where the seat will rest
Two seats with similar maximum dimensions can have different curves, hinge positions and contact points. Ask whether the proposed seat's buffers will rest correctly on the pan and whether the lid can open as designed. Do not choose by the outer width alone or assume hinge adjustment corrects every shape mismatch.
Also check whether the required fixings can be reached from above or below. The hinge and fixing guide covers that separate question. Confirm the full seat code, including any hinge or finish variation, before accepting a substitute.
Add features after the fit is established
Once a compatible seat is identified, compare soft-close and quick-release functions and the material and care requirements. An appealing finish or release button cannot rescue a poor fit on the ceramic.
Bring a one-page card containing the model, photos, labelled measurements and any inaccessible points. Ask the supplier to mark the compatible seat on that record. Keep the drawing and code after purchase so the next replacement does not start again with a vague description of a white toilet.
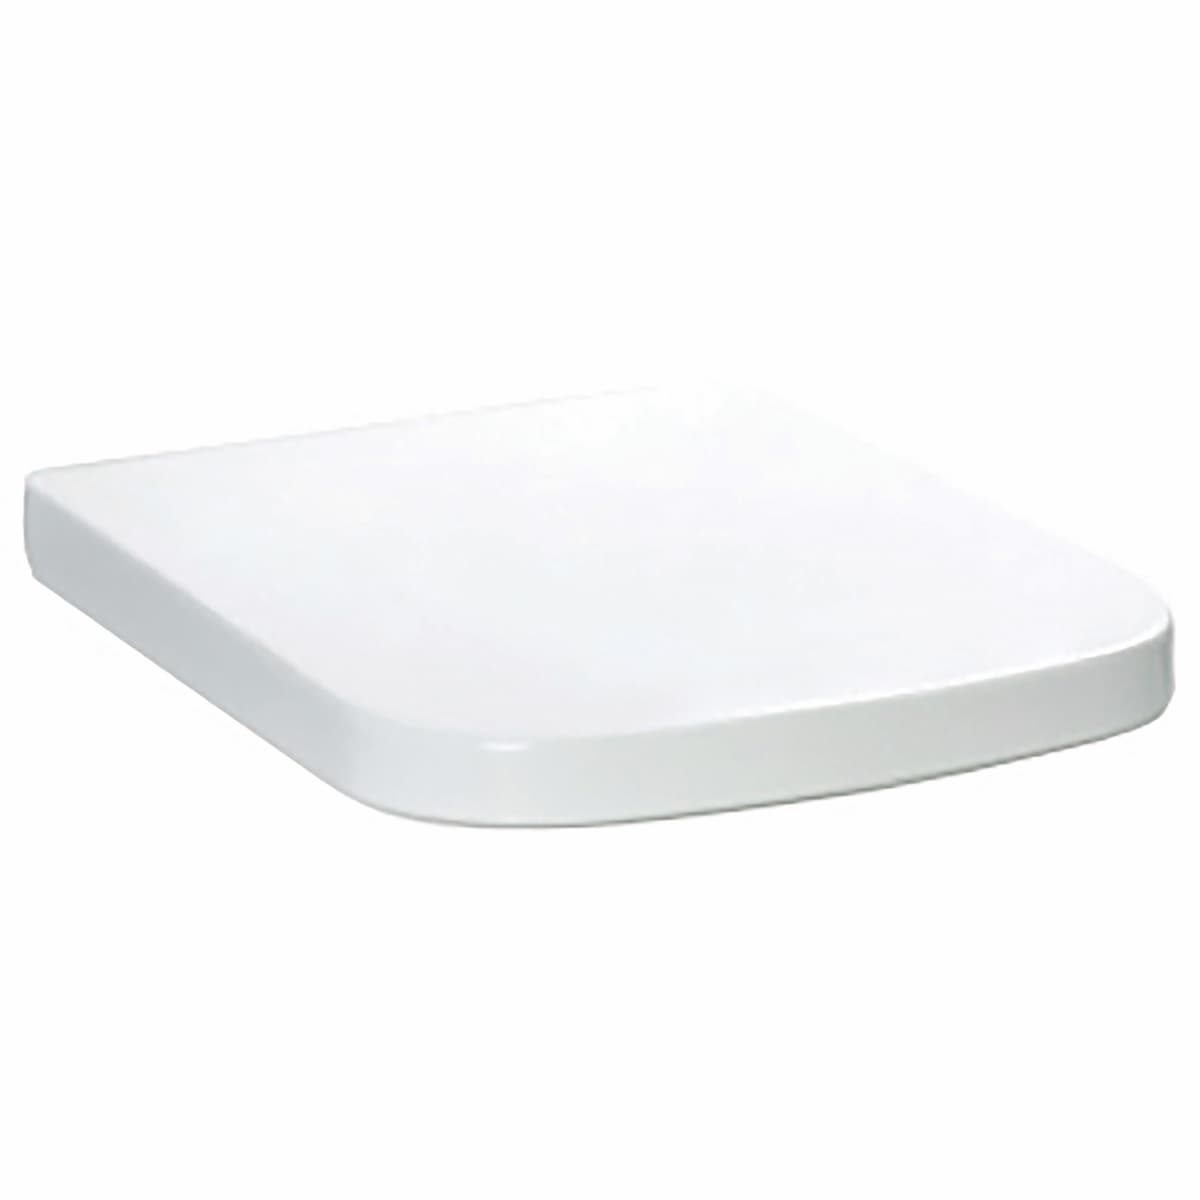
The supplier image is from the Porto Wrap Over Seat listing. Check the exact specification, included parts and available showroom examples before choosing. The illustration is not an Elegant Haven installation or proof of suitability for your room.
Sources & further reading
- Croydex: toilet seat measurement and fitting overview ↗
- Croydex: Constance seat dimensions, fixings and care ↗
Prepared with AI assistance from the linked sources and Elegant Haven’s published service information. This guide helps you prepare decisions; product suitability and installation details need confirmation for your own room. It is not a record of a completed Elegant Haven installation or an expert sign-off.