Begin with four understandable room views
Start at the doorway and take a view into the room. Then photograph each accessible side so the viewer can connect the entrance, window, bath or shower, basin and toilet. Keep the images in order. A designer should not have to guess whether two close-ups show the same corner.
Use ordinary, well-lit photographs. Avoid an extreme wide-angle setting that makes distances look larger, and do not rely on a filter to represent a finish. If a reflection makes something unclear, change your position rather than trying to describe a hidden area as though you have inspected it.
If your room is narrow, two overlapping views can be easier to interpret than one distorted panorama. Add a basic plan with matching wall labels from the measurement guide. The photographs and sketch should tell the same story.
Choose close-ups that answer a question
A useful close-up includes enough surroundings to locate it. Photograph visible boxing with the nearby fitting in view; then, if needed, take one closer image of the detail. Do not remove access panels, covers or fittings just to get another picture.
Record obstacles rather than diagnosing them. “Boxed section behind the toilet, purpose unknown” is more useful than “this pipe can be moved”. If something appears damaged, show it to the professional without concluding from the photograph what repair is required.
| View | Why it helps | Useful caption |
|---|---|---|
| Door and nearby fittings | Shows the circulation problem | The door meets the towel rail when fully open |
| Basin and storage | Explains everyday clutter | We need somewhere for these items inside a cupboard |
| Window or sloping ceiling | Shows constraints above floor level | This is the wall where we hoped to put a mirror |
| Existing shower entrance | Shows the current arrangement | We want to discuss an easier entrance; dimensions unverified |
Keep inspiration separate from the existing room
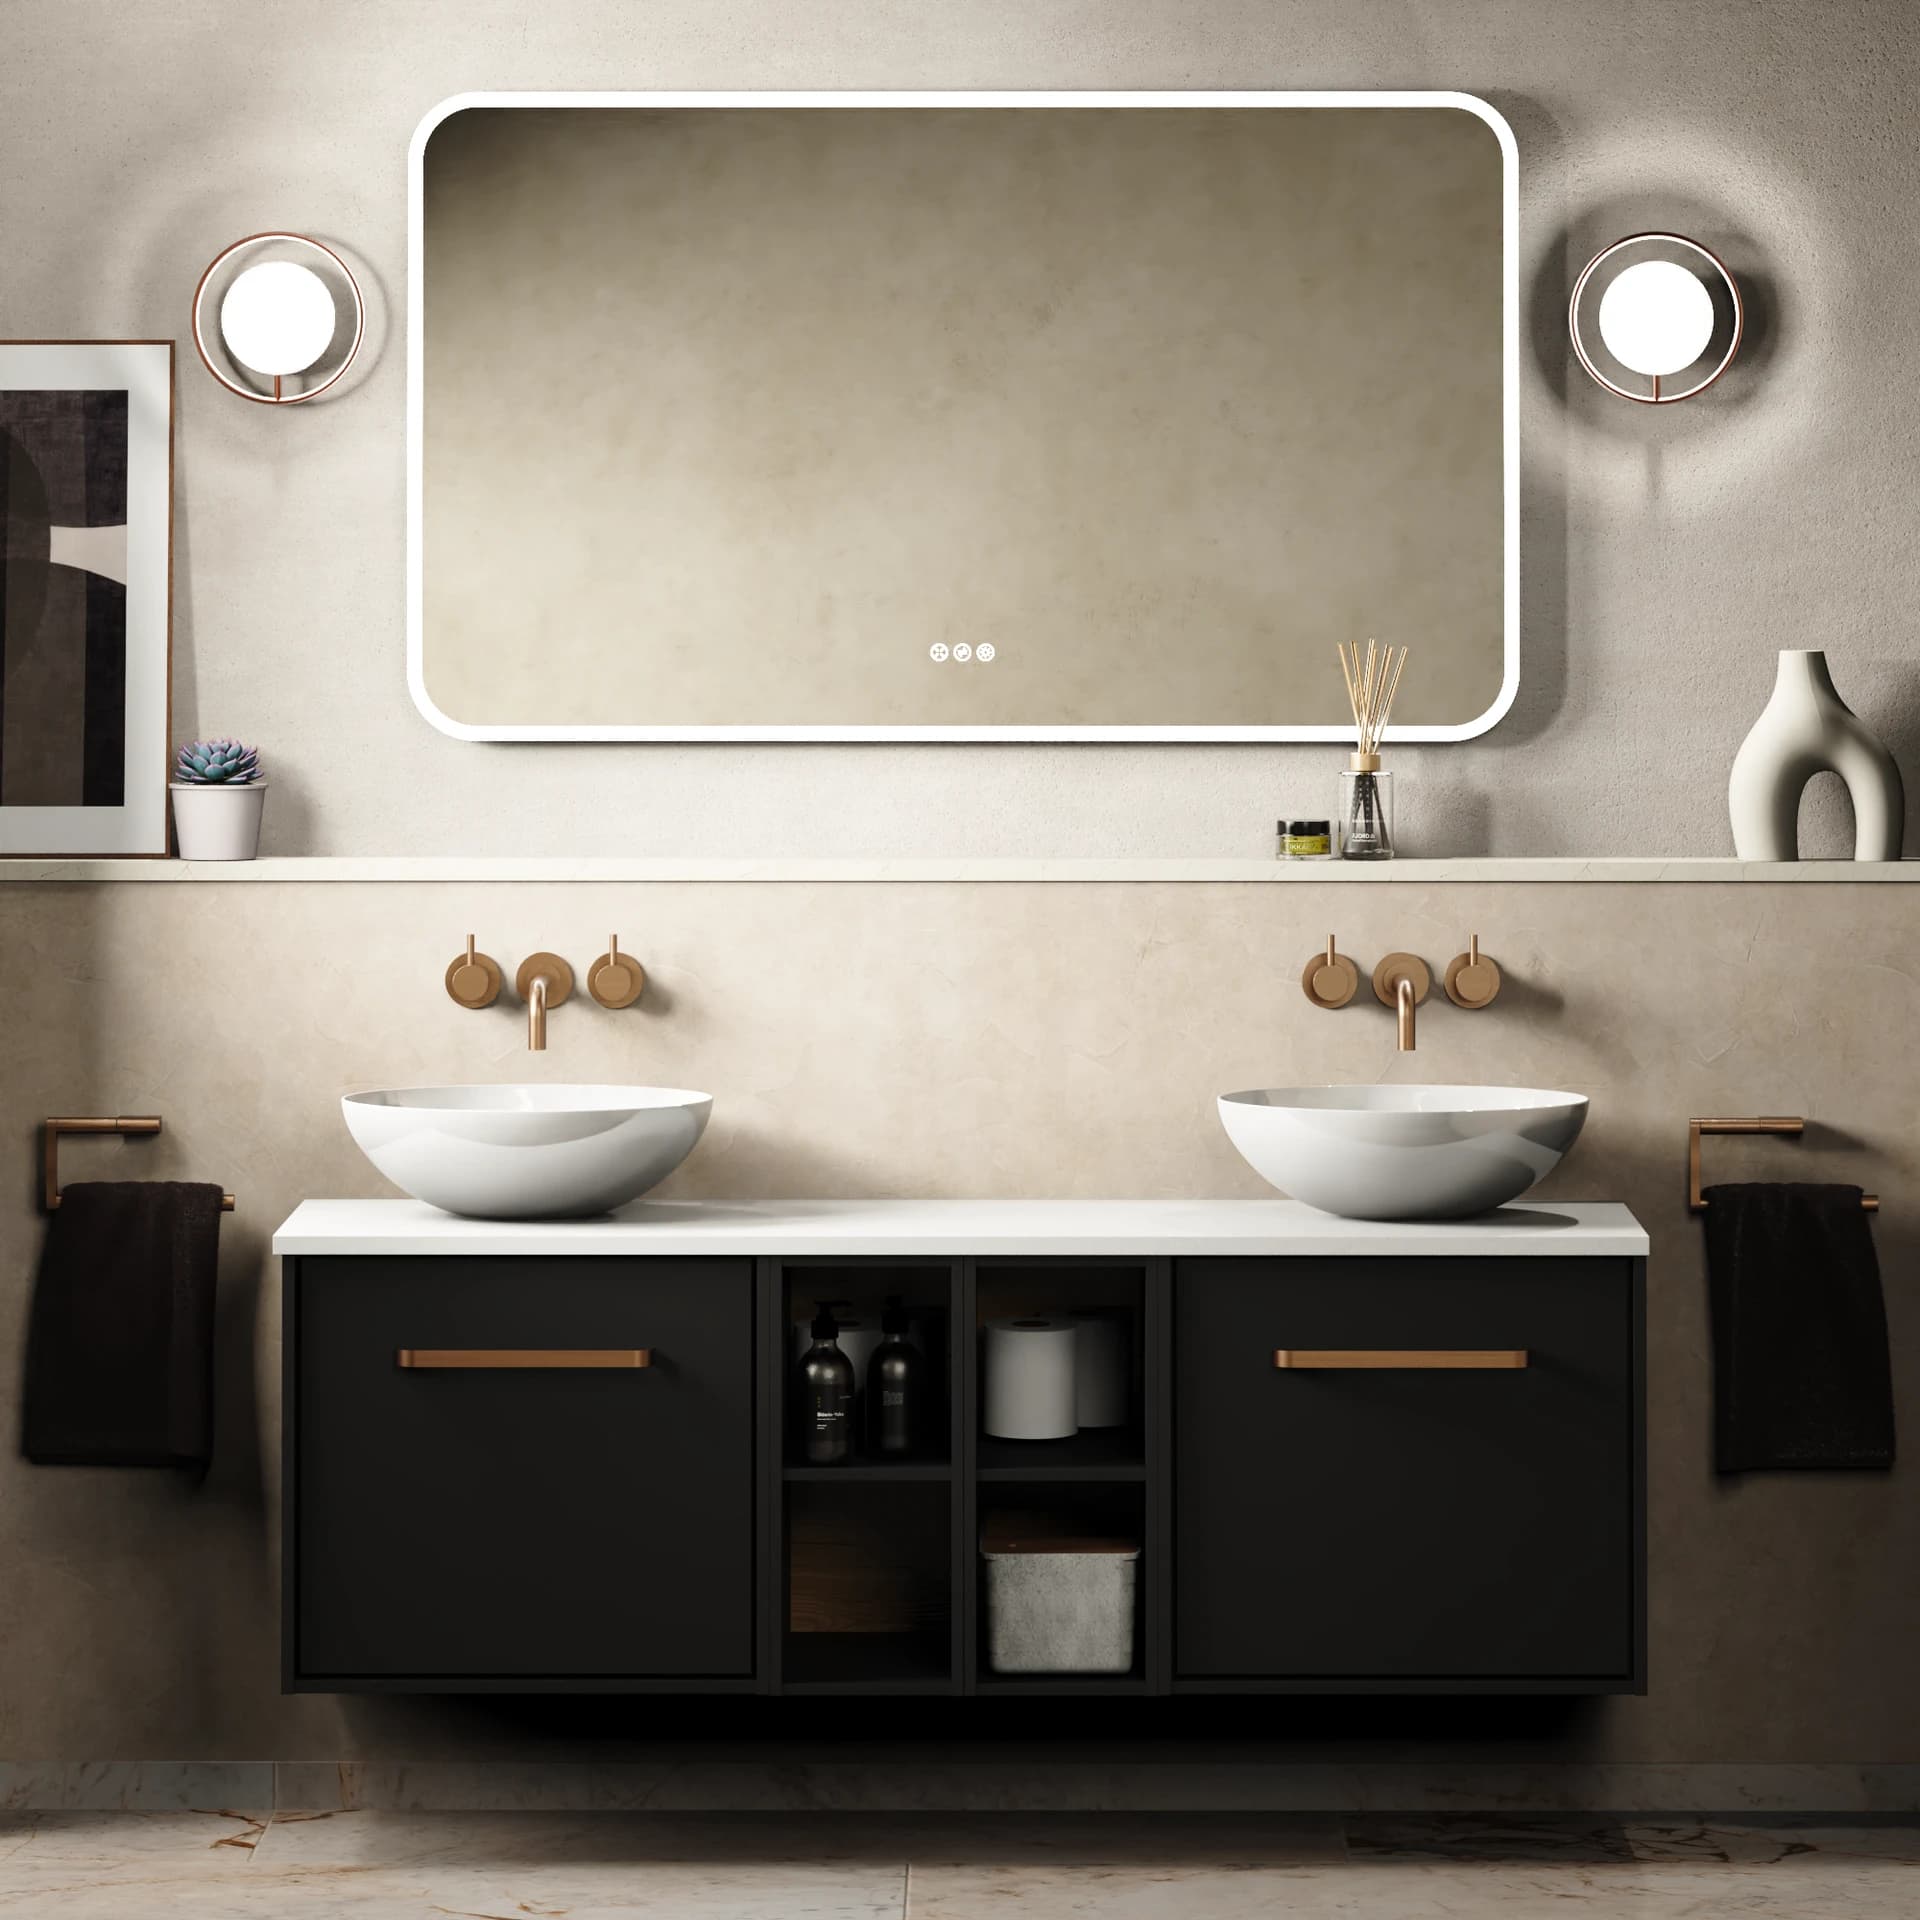
Create two clearly named groups: “Current bathroom” and “Ideas”. Otherwise an attractive reference image can be mistaken for part of your property. Do not describe a supplier image or a room found online as your own completed project.
Limit the first inspiration set to three or four images with one sentence each. Identify the element you like: colour, storage arrangement, shape of the bath or overall mood. If two images conflict, that is useful information. You may like one palette and a different furniture style rather than wanting either room exactly.
Avoid using a photograph to choose a precise shade or product specification. Bring the product link if you know it and confirm the exact variant. Finish samples and technical details answer different questions from a styled image.
Make a small, usable photo pack
Rename the images in a logical sequence such as “01-doorway”, “02-wall-A” and “03-window-detail”. Keep the original files so the team can zoom in if needed. A collage can be a useful overview, but it should not replace readable individual images.
Before sharing, remove anything you do not want visible: people, letters, prescription labels or reflections of private spaces. Send the pack through a channel agreed with the team. The design brief builder does not upload photos or send your notes automatically.
Your final pack should explain three things: what exists, what does not work for you and what you would like to explore. It can improve the first discussion, but site measurements and professional checks still decide what is suitable.
Sources & further reading
Prepared with AI assistance from the linked sources and Elegant Haven’s published service information. This guide helps you prepare decisions; product suitability and installation details need confirmation for your own room. It is not a record of a completed Elegant Haven installation or an expert sign-off.